🔒 Use Bitwarden while Browsing
Last updated on : 2021-06-11
Instructions
What you should know
- Remember, that when BitWarden is locked (or Logged out) its features (e.g. detecting password changes, prompting to save passwords, offering auto-fill) will not work. Locked means locked. If you are unhappy with this, change the settings as described under "2. Set Security Settings" in 🔒 Setup Bitwarden on Desktop.
What you should prepare
- Watch the 1 minute Quick Start video to learn how to use it every day.
What you should do
In summary, when you start browsing:
1. Login to Bitwarden Through Your Extension
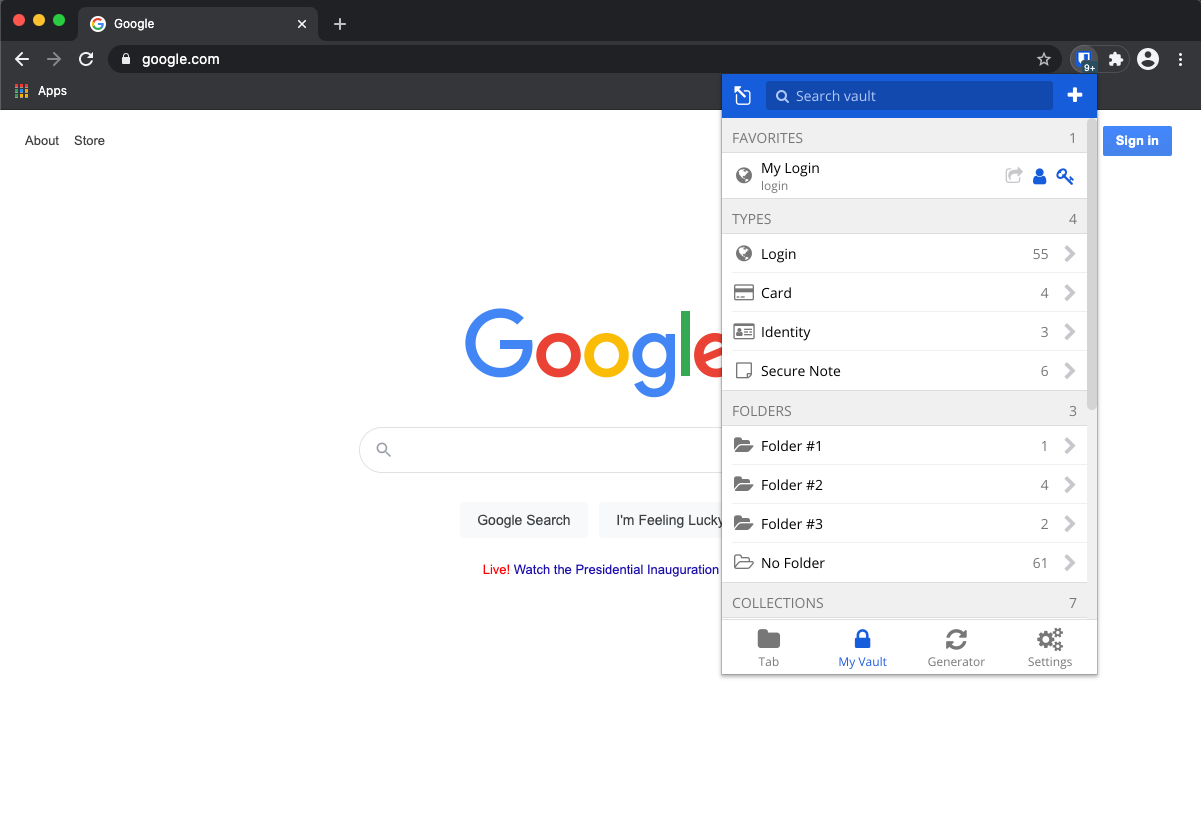
2. Login to an Account
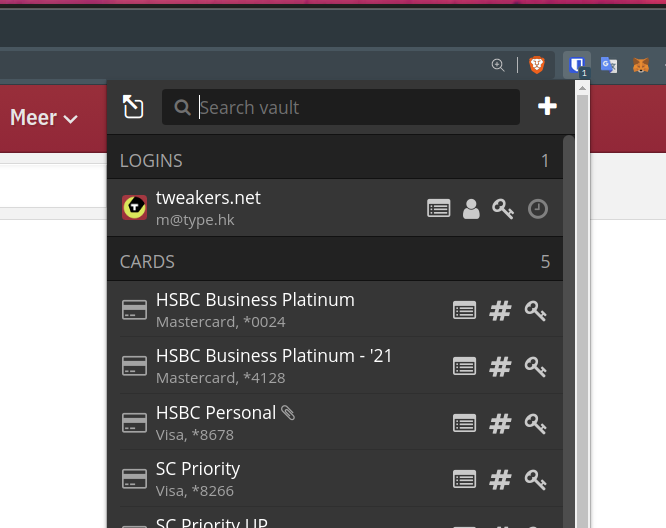
If you browse to a site you want to login to, BitWarden will tell you if it has any stored passwords for that site:

The 1 in the BitWarden icon above indicated that there is one login profile for the current site.
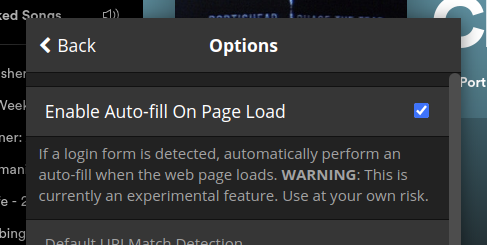
If you have turned on "Enable Auto-fill on Page Load" in the settings, as shown below, once you arrive at the login screen, Bitwarden will fill in your credentials for you
Otherwise you want to select the profile from the extension and copy the password / username details manually
3. (Automatically) Adding new profiles
When you want to add a new login profile, just start the process of signing up for the service.
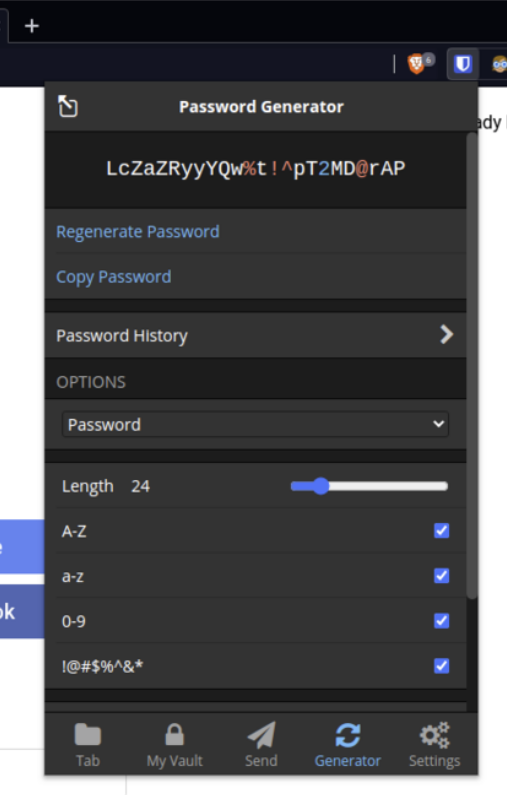
The service will prompt you to provide a new password, this is where you will ask BitWarden for help to generate one. See 🔒 Generate Strong Passwords for the steps.
-
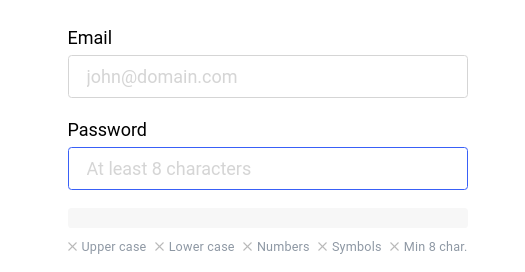
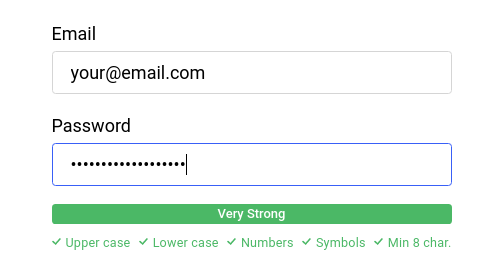
Typically, a prompt will ask you for a password with certain "complexity" conditions as shown below
-
Use BitWarden's Password Generator for the most complex password the website will allow
-
Copy it to the website and create the account / save the new password.
-
IMPORTANT If BitWarden doesn't ask you to save the password as described in the next step, then you should manually add a Login profile for the account you just created, or edit the profile you just reset the password for, as shown in the next step
4. (Manually) Adding new profiles
If you need to manually add a profile - for example if you already have an account with a web site, but you
First, press the "+" button in the top right of the BitWarden Extension, to show a view that looks like this:
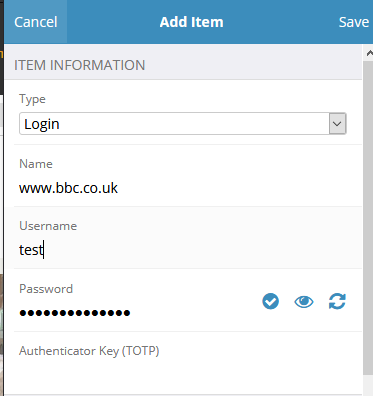
For the "Name" use anything you would recognise the login with, usually the name of the service. For "Username" and use the username you used for the account.
If you have just generated the Password, it could still be in your clip-board, if it is not, you can find it under "Password History" on the "Generator" tab.
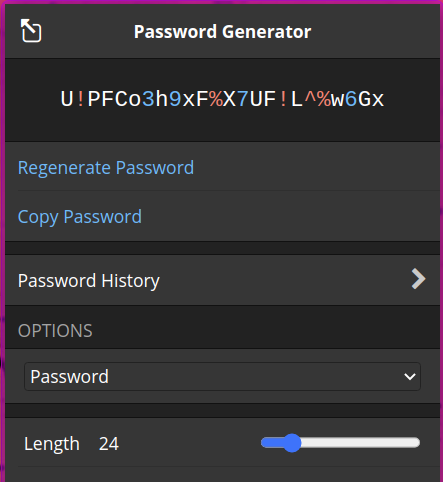
From there you can COPY the password you used, and paste it into the profile you're adding.

5. Save New or Changed Passwords
If Bitwarden detects a new password / changes password, it will prompt you to save it - select "Yes, Save Now" if that's what you want.
