💻/🖥️ Encrypt Internal Drives with VeraCrypt

Instructions
What you should know
These instructions are to encrypt your internal drive (the disk inside your computer where you store your files), for: * Files - instead of your whole drive you can also selective create a vault to only store your sensitive files. In that case 💻-🖥️ Encrypt Files with VeraCrypt * External Drives - such as USB Flash Drives, follow the instructions to 💻-🖥️ Encrypt External Drives with VeraCrypt.
What you should prepare
- Completed to 💻-🖥️ Install VeraCrypt.
- If the power is interrupted while encrypting your drive, your data will be corrupted/lost, so make sure that you have a reliable power source while encrypting your drives
- An external USB Flash Drive is used to store a back-up of the "starting key"
What you should do
1. Encrypt your Drive with VeraCrypt
This can take between 15 minutes to several hours depending on your system and the size of your drive:
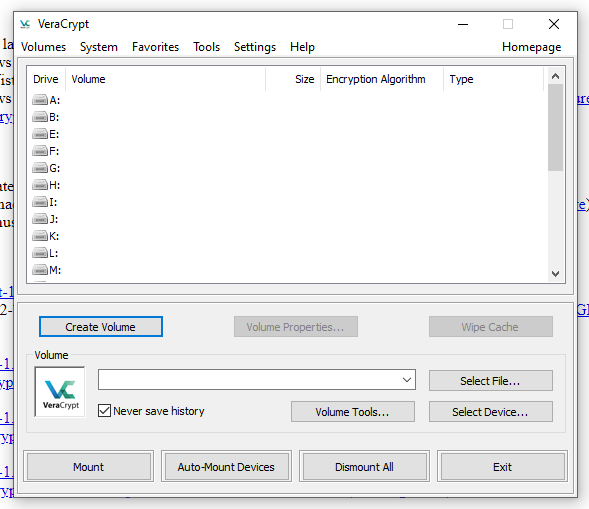
- Search and Open "VeraCrypt"
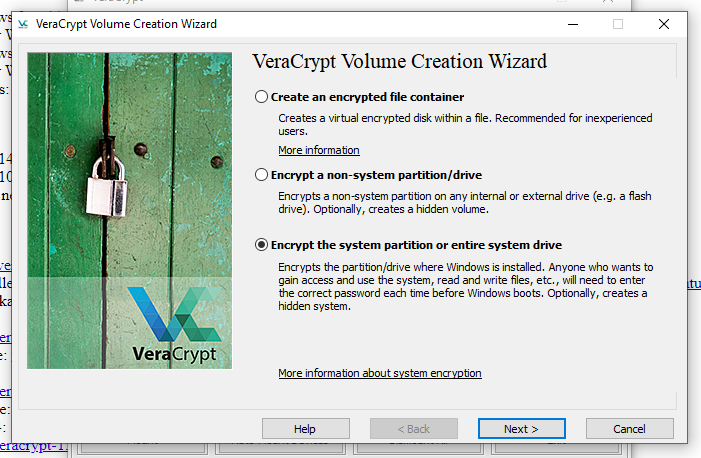
- Select "Encrypt the system Partition of entire system drive", and click "Next"
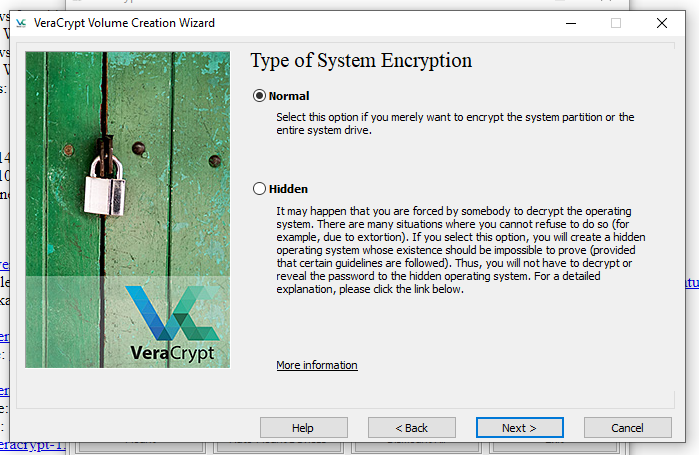
- Select "Normal" - the Hidden option is more advanced and can be used by learning what it means, and following the instructions from the installer.
- Select "Encrypt the whole drive"
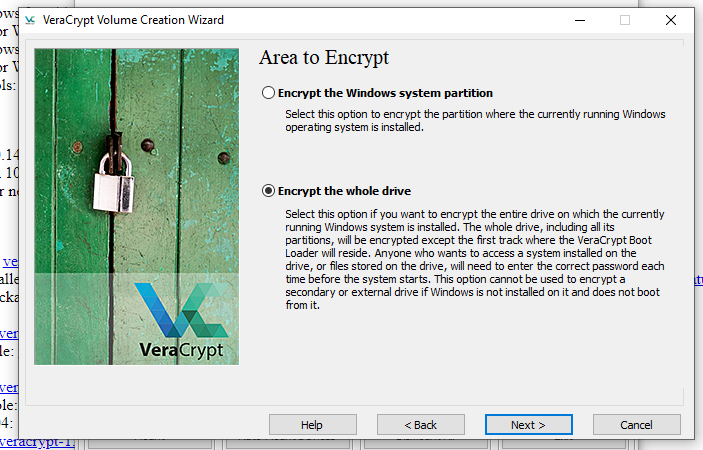
- (Optional) If VeraCrypt detects that you are using a non-standard partition setup, click "Yes"
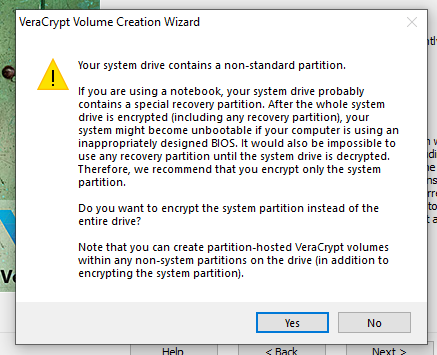
- Select the number of operating systems, probably "Single-boot"
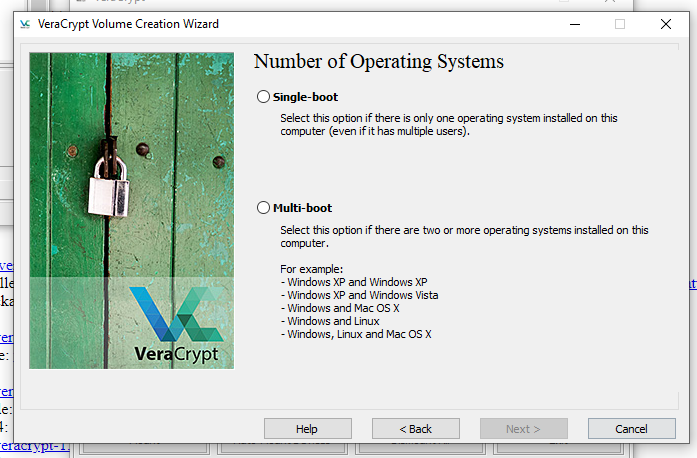
- On the "Encryption Options", click "Next"
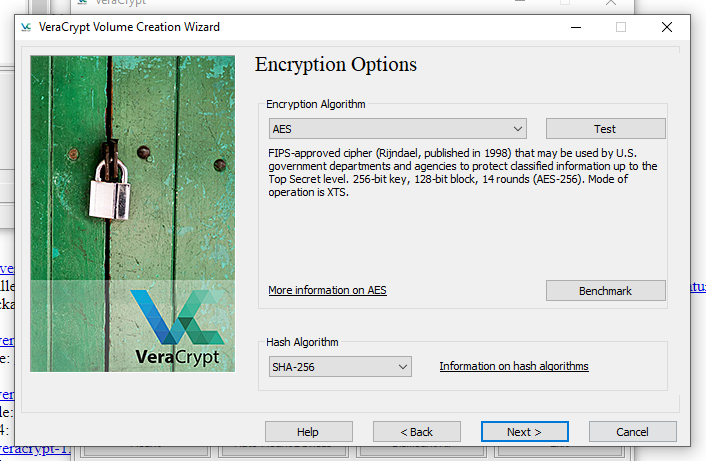
- 🔒 Generate Strong Passphrases, save it in Bitwarden, and enter it here - you will need to enter this passphrase manually each time you start your computer, so we recommend using a pass-phrase you can remember and easily type, instead of a password that you need to copy each time. For reasonable security, it should be at least 20 characters long.
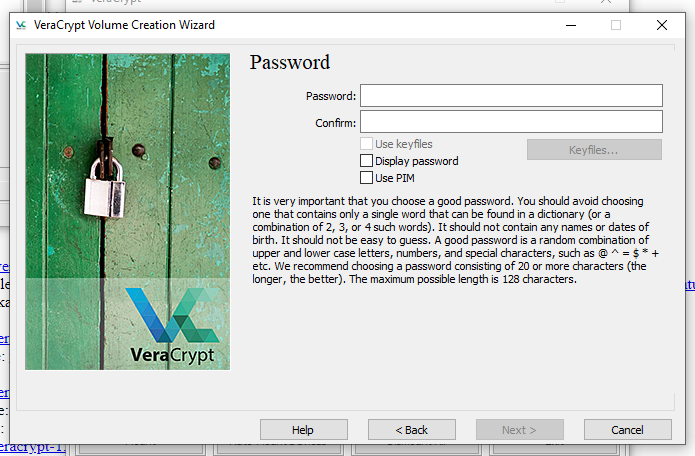
- Move your mouse to generate randomness for 30 seconds, and click Next
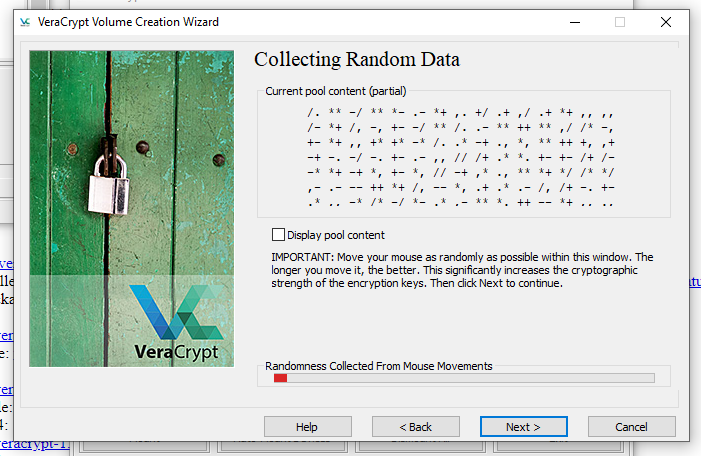
- Click Next
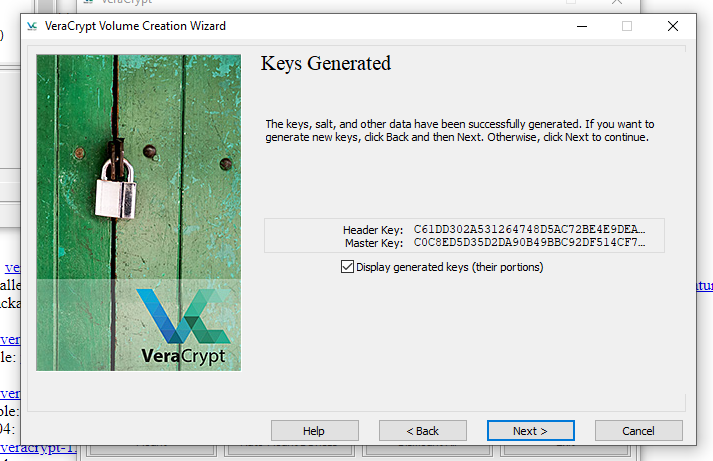
- Create the Rescue Disk by clicking Next
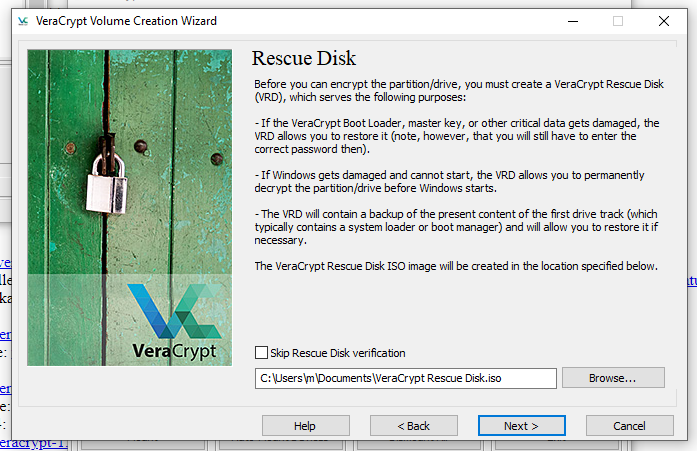
- If you have a USB Drive, select the first option
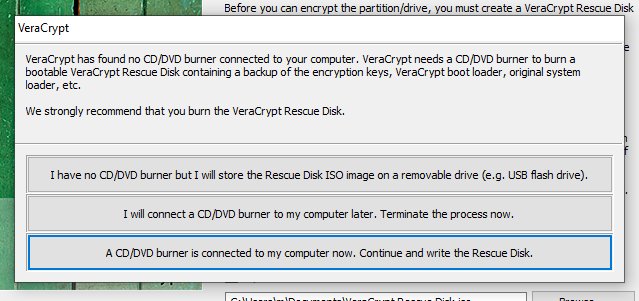
- Follow the instructions from the popup - i.e. insert the USB Flash Drive and copy the
VeraCrypt Rescue Disk.isoyou've just created to the USB drive. Store this USB in a safe location, as it is the backup for the system drive! Click OK.
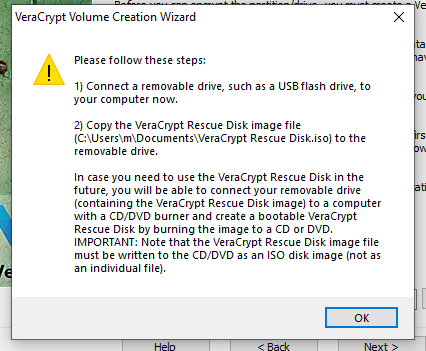
- Click OK, again
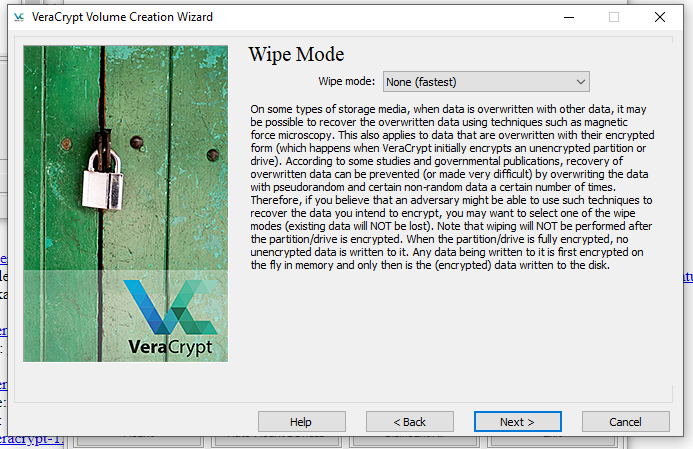
- For Wipe Mode, you should be OK with "None".
Note: if your drive has extremely sensitive data, and you would expect the authorities to send the hard drive to a digital forensics lab to use magnetic force microscopy to read the data (an expensive process), then use 1-pass, or 3-pass. This will considerably extend the time it will take for the setup to complete.
- Next, let's test everything to make sure it will work, click 'Test', click OK, and "Yes" to being restarted.
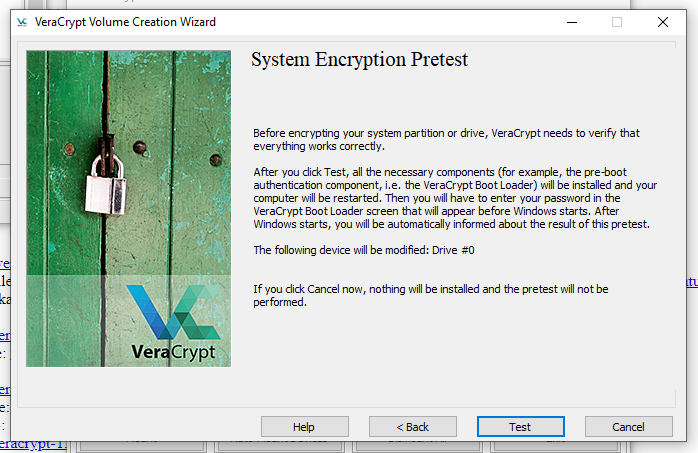
- The system will reboot and prompt for your password
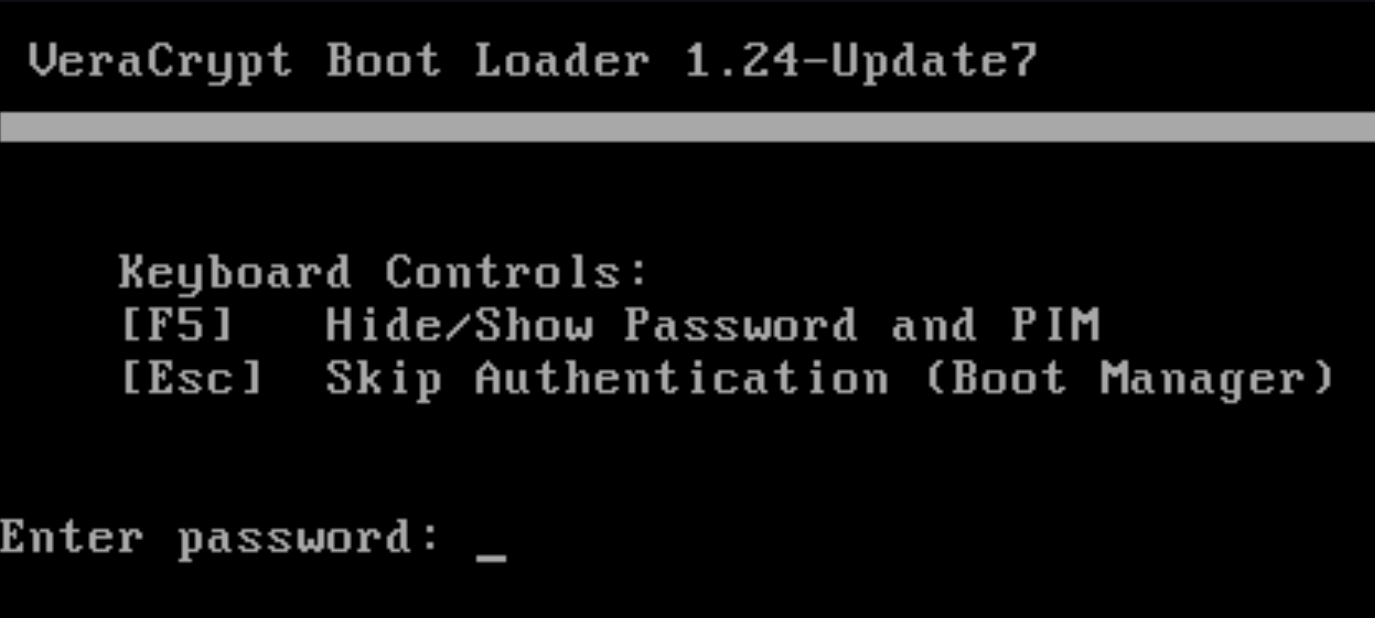
- Enter your password, press "Enter", and skip the PIM by pressing "Enter" again. After a couple of seconds, your computer should boot normally.
- Log back into Windows with the same user
- Start VeraCrypt if the "VeraCrypt Volume Creation Wizard" does not pop up. It should show the "Pretest Completed" window
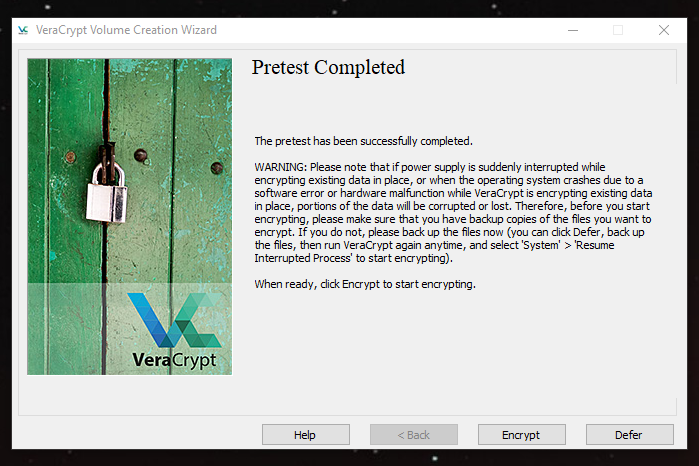
- Confirm that you have backed up all essential data, and click "Encrypt".
- Print the Recovery Instructions if you want to, then click "OK"
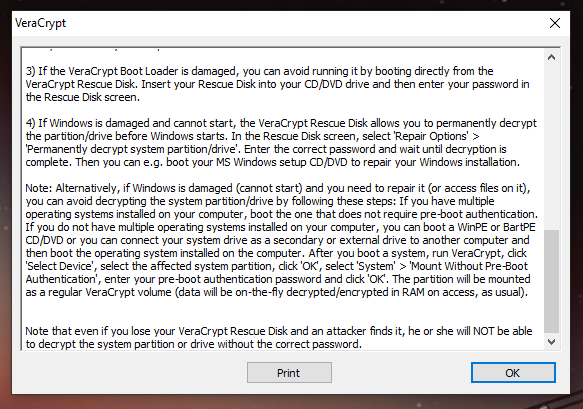
- Let's go! your disk will now be encrypted.
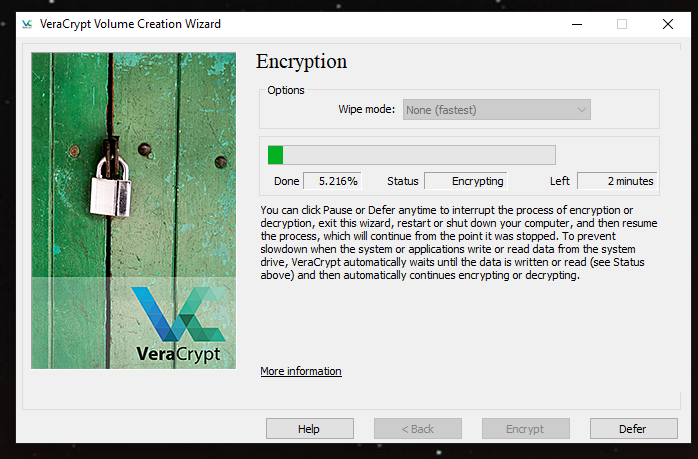
- This will take a while. But when it's done, click "OK" and "Finish"
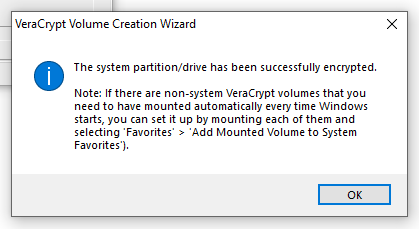
- Try rebooting your system to see how it works.
2. Use the Encrypted Drive
Encryption is done 'transparently' which means that you don't see that the files are encrypted and decrypted while you are using the computer! So the only thing you need to do is type in your passphrase when you start your computer, and as soon as the computer is powered off, your files will all be safely encrypted!
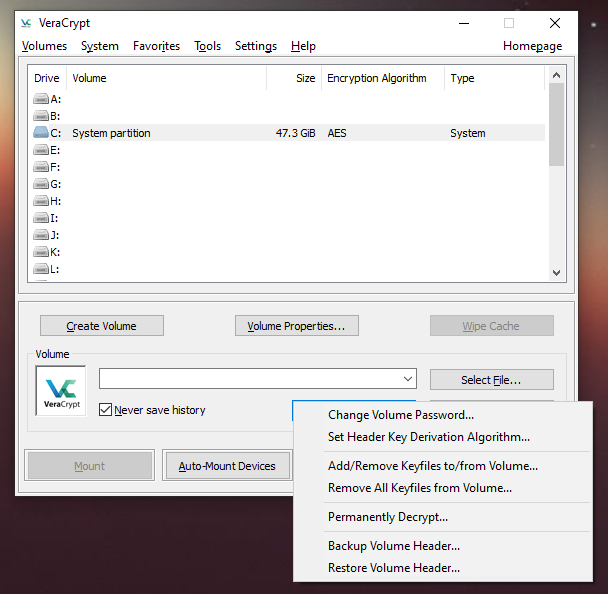
Note: If you needed to change the passphrase, you can open VeraCrypt, select your drive (probably C:\) and select "Change Volume Password". This is also where you can choose to Permanently Decrypt the Volume, i.e. to undo the encryption of the drive and remove the password protection on boot.
