💻/🖥️ Create a Hidden Vault with VeraCrypt

Last updated on : 2021-06-18
Instructions
What you should know
- VeraCrypt uses the term "Volume" where we say "Vault".
What you should prepare
- Have a opened VeraCrypt either from your computer to 💻-🖥️ Encrypt Files with VeraCrypt or from your USB drive if you want to 💻-🖥️ Encrypt External Drives with VeraCrypt, and started the "VeraCrypt Volume Creation Wizard"
What you should do
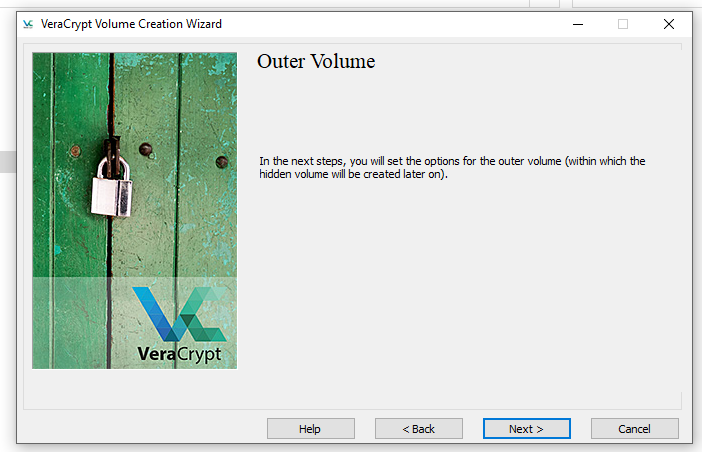
1. Setup an Outer Vault
- Select "Create an Encrypt an encrypted file container"
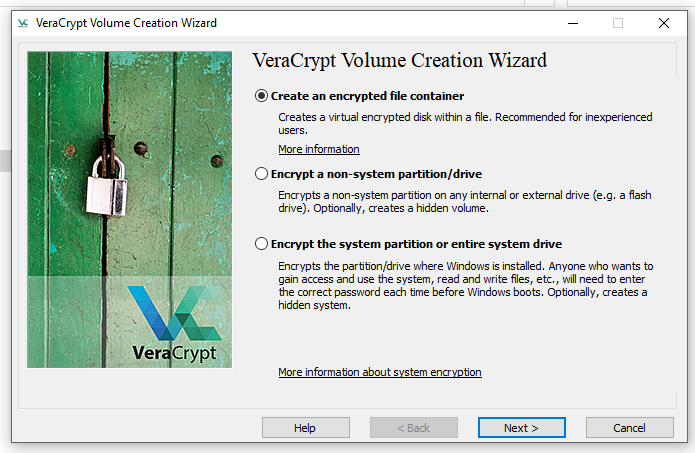
- If you need 🔒 Plausible Deniability, select "Hidden VeraCrypt Volume", if you don't select "Standard VeraCrypt Volume", click "Next"
- Note: These instructions will assume you selected "Hidden VeraCrypt Volume", but the steps for the "Standard" option are the same until step 19, when you are finished. Ignore any mention of "Fake" in the steps below.
- Note: These instructions will assume you selected "Hidden VeraCrypt Volume", but the steps for the "Standard" option are the same until step 19, when you are finished. Ignore any mention of "Fake" in the steps below.
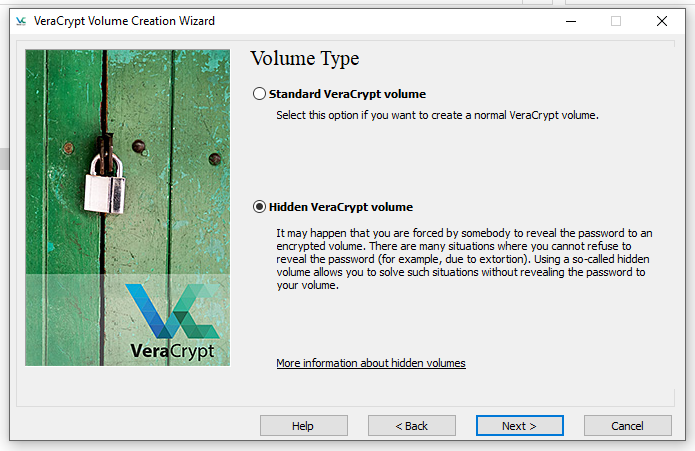
- Select "Normal mode" and click "Next"
- For "Volume Location", click "Select File" and navigate to
- external - your external drive, e.g.
D:\ - internal - any place you like, but if you want to hide a large vault, we suggest putting it in the
Videosfolder for your user.
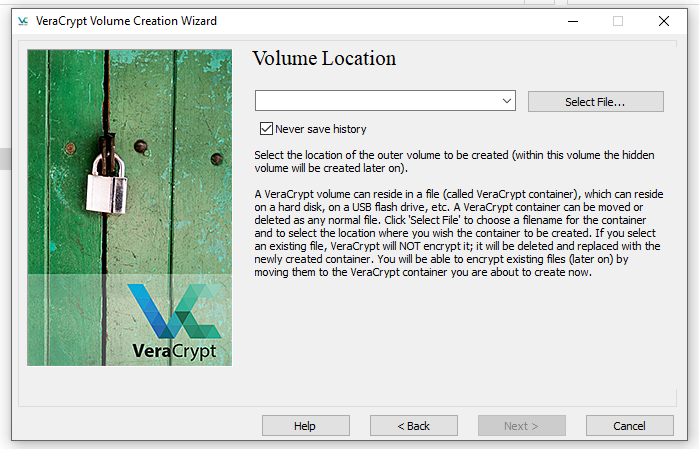
- external - your external drive, e.g.
- For the filename, you can use anything, but we like to name our vaults after our favourite movies and end it with the
.mp4file extension, for exampleAvatar.mp4is an acceptable name, click "Next"- Note: Since the file name doesn't matter, we choose something that makes it LOOK like a video file, so it isn't found on a casual look when someone inspects the USB drive... it could simply be a pirated copy of Avatar!
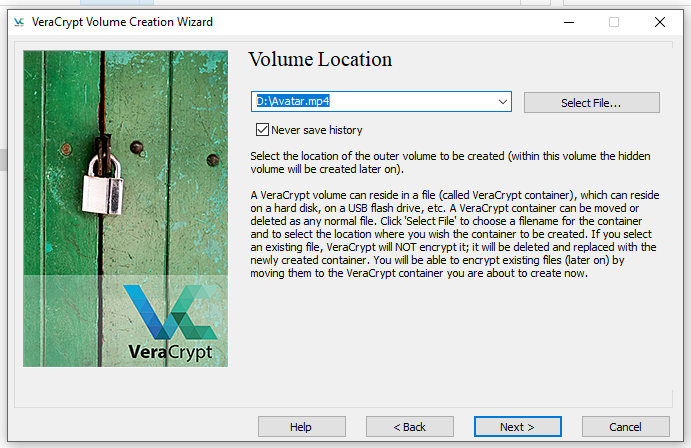
- Note: Since the file name doesn't matter, we choose something that makes it LOOK like a video file, so it isn't found on a casual look when someone inspects the USB drive... it could simply be a pirated copy of Avatar!
- Click "Next"
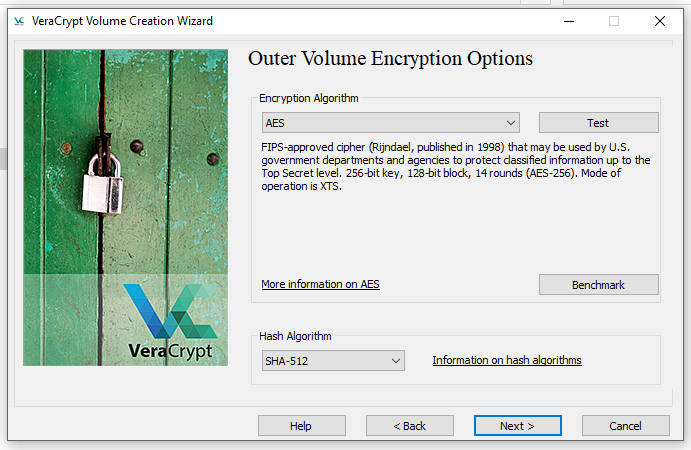
- Leave the default encryption settings, and click "Next"
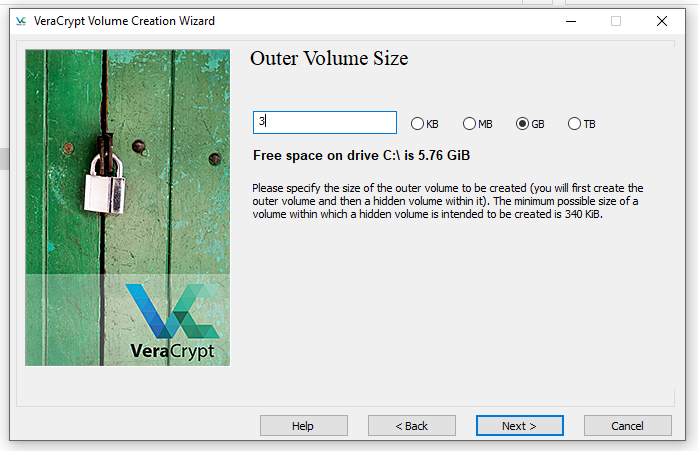
- Enter the size of the vault you want to create - this should be enough to contain ALL your sensitive files, AND some fake files which you will use for 🔒 Plausible Deniability. As a rule of thumb I would say
10 + 1, so 1 MB fake for every 10 MB of sensitive data, so if the inner vault with sensitive data is ideally 500 MB, then set it to 550MB, 20 GB of sensitive data to 22GB, etc.- Note: The sensitive files won't even show up as 'used space', so don't worry about that.
- Note: You cannot change the size of the vault after creating it (although you can always create a new one), so best account for the space that you will reasonably need in the future.
- In the next step you will be creating a password for your FAKE vault, that is your "Outer Volume" which will not contain your sensitive files. So you should ignore the strong passwords advice we've given you and come up with a password that is really easy to remember, it can be something silly like the name of your organisation,
Myanmar,AungSanSuuKyior something that you will definitely remember, then click "Next".- Note: Since you will almost never use this password (because it's your fake vault), really try and make it as easily guessable (by you) as possible, so go with one of the first things that comes to your mind. Add the password to BitWarden as per the 🔒 Practice Good Password Habits.
- Note: If you get a warning that your password if weak, ignore the warning and accept your password by clicking "Yes".

- Leave the file system as "FAT" and. (no joke) move the mouse around for 30 seconds, then click "Format"
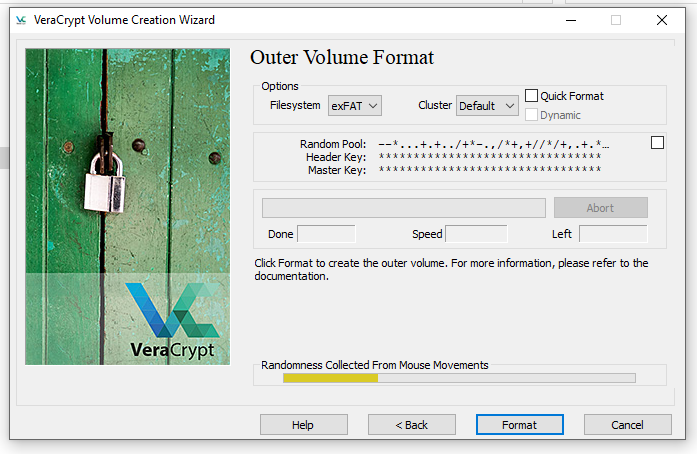
- Depending on the size of your Vault, it'll take a couple of seconds to a couple of minutes.
- Once it's completed, you'll be presented with the "Outer Volume Content" screen. This tells you that it's time to move some FAKE files (i.e. plausibly sensitive files such as family photos, or some important project files, but nothing ultimately incriminating).
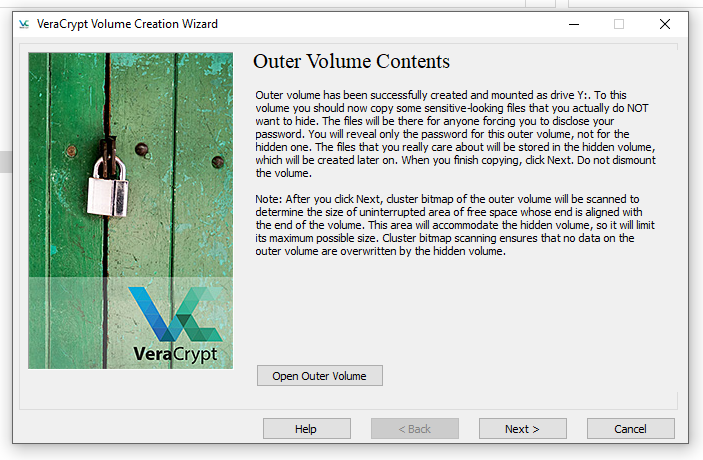
- Click "Open Outer Volume"
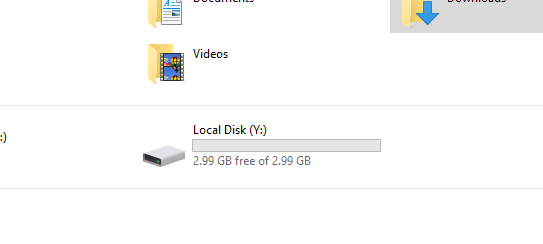
- A new drive has been created, in my example it's the drive letter
Y:\
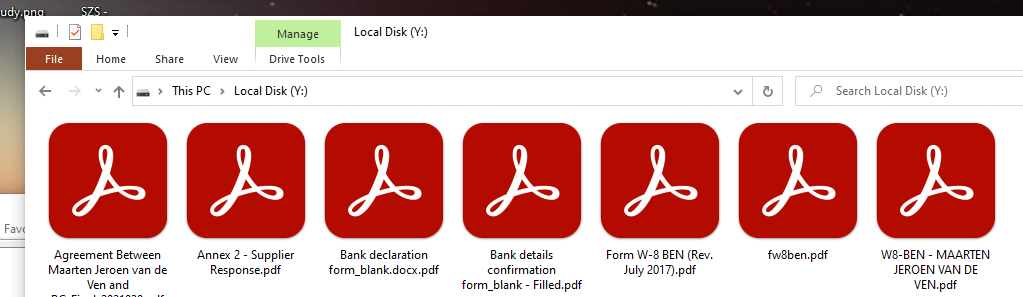
- Now move the FAKE files into the drive
Y:\, so NOT directly to your external drive which will also show up as one of the drive letters. - Ah yes... In the example below, we used American Tax Status documents, and some contracts! Looks sensitive! We hope you will have something that looks sensitive enough to give you 🔒 Plausible Deniability.
2. Setup an Inner Vault

- Once you're done adding FAKE files to your "Outer Volume", go back to the VeraCrypt Creation Wizard, and click "Next"
- You're now going to create your "Hidden Volume", click "Next"

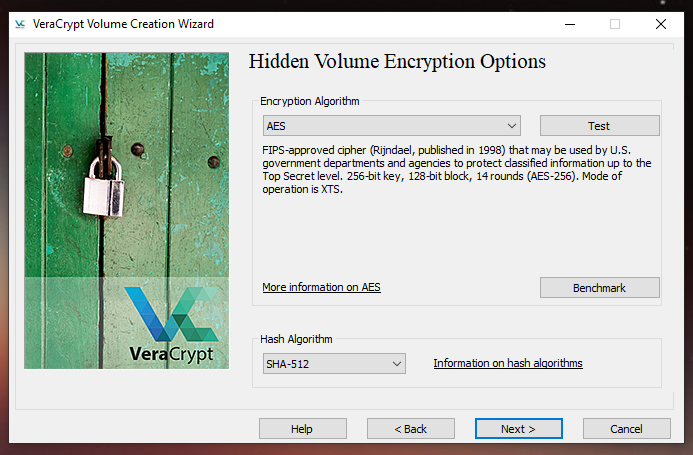
- Leave the default encryption settings, and click "Next"
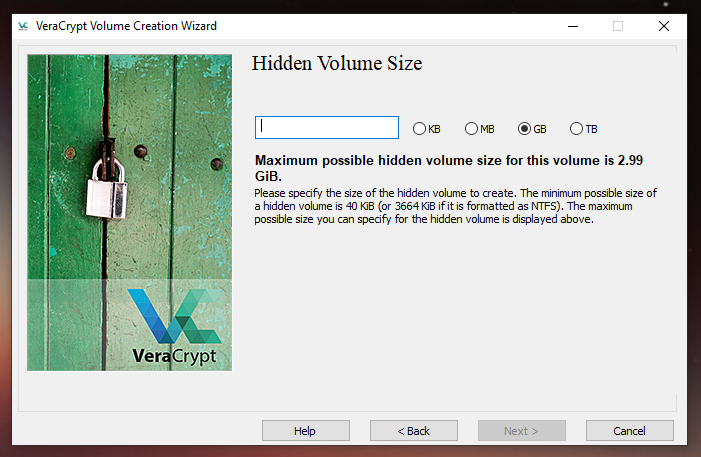
- Set the size of your hidden volume, and be sure to leave some space for additional files in your FAKE drive that you might want to add and click "Next"
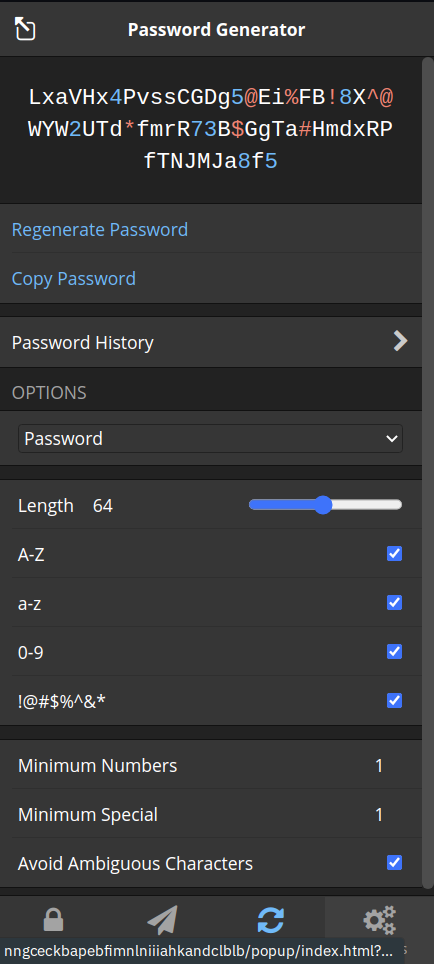
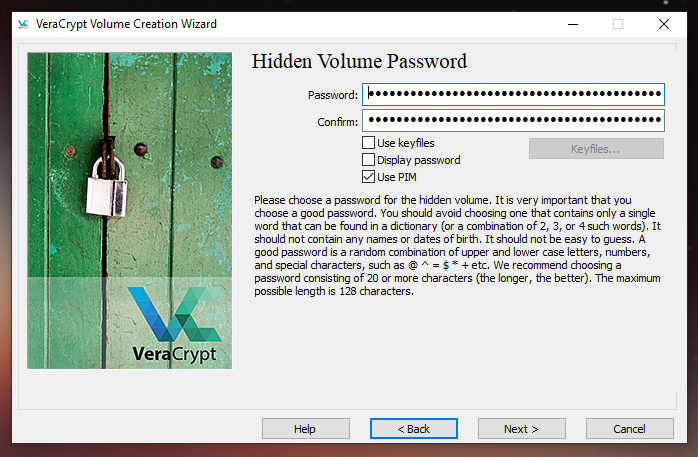
- The "Hidden Volume Password" is important, very important! So for this we will use our guide to 🔒 Generate Strong Passwords, and generate a password that is 64 characters long.
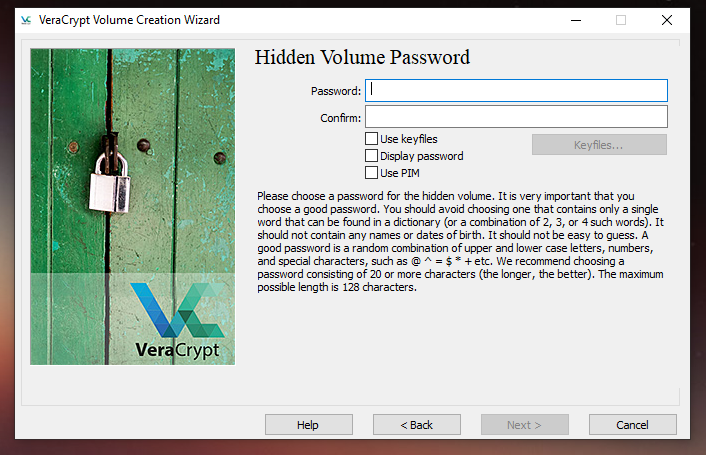
- As per the guide, we use Bitwarden to generate a strong password - don't worry, you will never be typing this in!
- Important: If your computer is slow, decryption will be slow. You can sacrifice a tiny bit of security for faster loading speeds by checking "PIM" -
advanced👩💻 this allows you to limit the number of hashing iterations. Click "Next"
- Set the volume
PIMto1if your computer is slow, or set it to0if your computer speed is acceptable. Since our password is very strong, we won't be sacrificing an unacceptable amount of security. Click next, and "Yes" if there's a pop-up.- Note: If you select
1, you will have to remember that you used a non-default number, if you select0than you don't have to remember anything special.
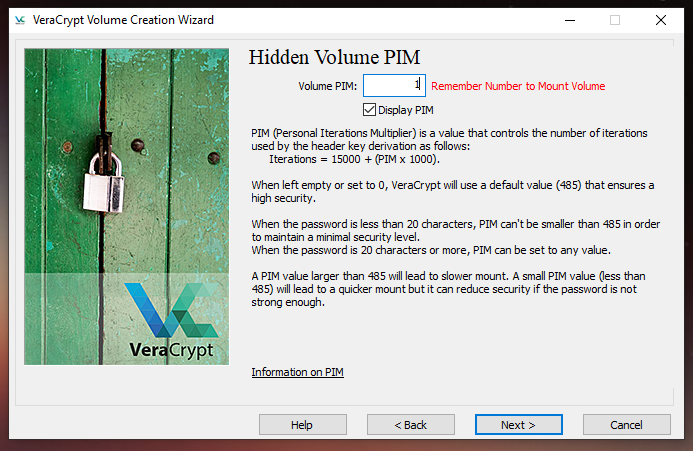
- Note: If you select
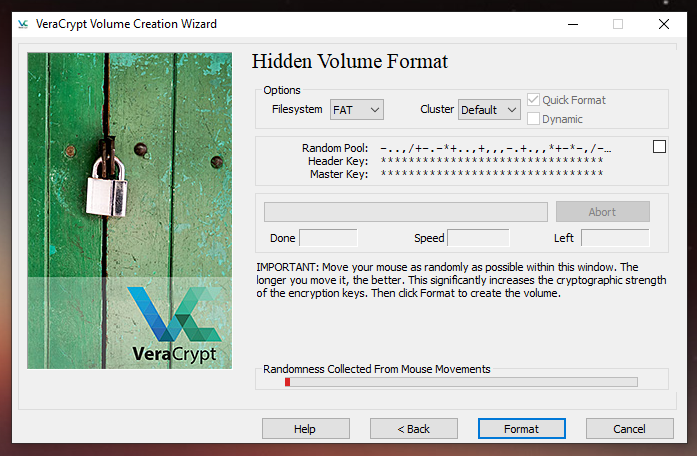
- If your inner vault if going to have files larger than 4GB select "exFAT" as the File system, otherwise leave it as "FAT" and, once again, move the mouse around for 30 seconds, then click "Format"
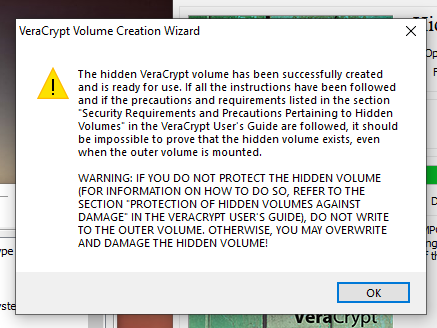
- Success! Well done! You have now created your Hidden Volume!
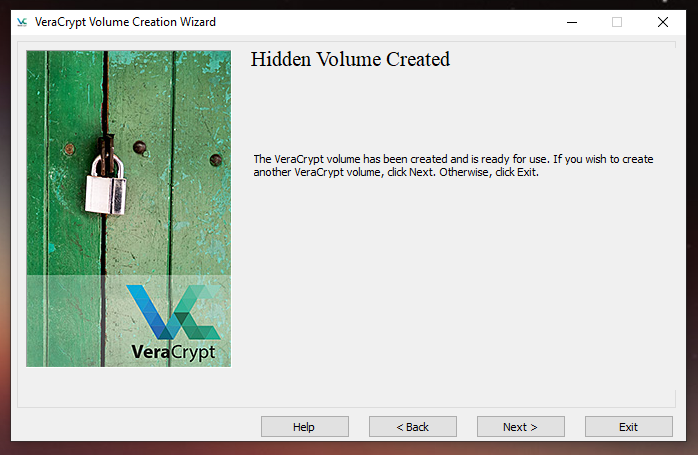
- Click "Exit", as we're done.
3. Learn how to use your Hidden Vault
The creation process you only need to complete once, but the usage of the encrypted vault might become a daily affair, so we'll start a fresh guide for that over at 💻-🖥️ Manage sensitive files in VeraCrypt.