💻-🖥️ Encrypt Cloud Drives with Cryptomator
Last updated on : 2021-09-12
Instructions
What you should know
- Cryptomator works better with Cloud services than VeraCrypt because instead of having your vault as a large encrypted file, it stores your data in thousands of smaller encrypted files which are more easily synced with a Cloud Drive
- Unlike in VeraCrypt, you don't need to decide how large your vault needs to be, as the size of the encrypted storage will automatically grow with you as you add more files into Cryptomator!
What you should prepare
- Finished to 💻-🖥️-📱 Install Cryptomator.
What you should do
1. Create a new Vault
- Press Start
- Search and open "Cryptomator"
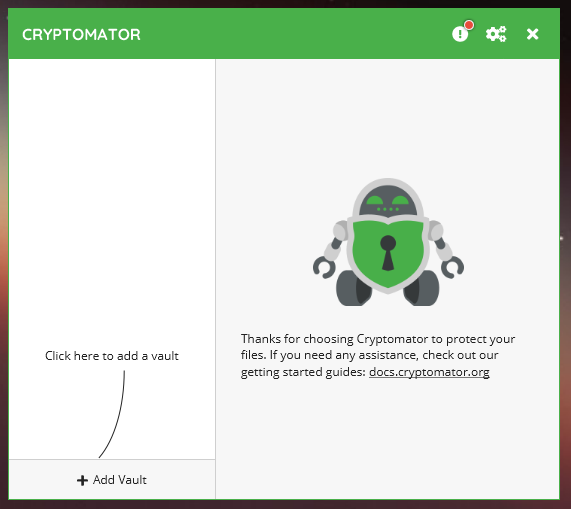
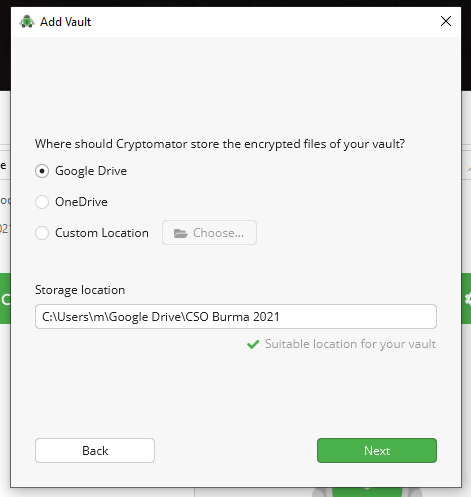
- Click "Add Vault"
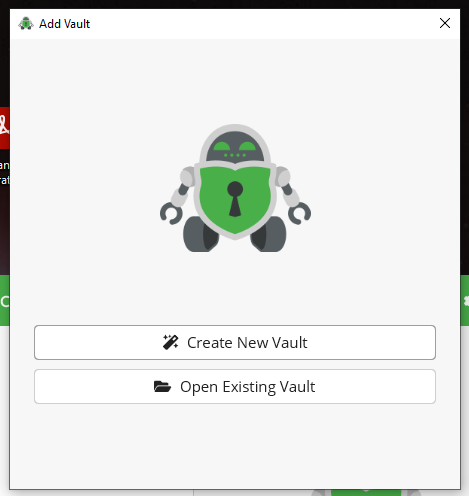
- Click "Create New Vault"
- Choose a name of the vault, that will inform you what's inside e.g. "CSO Burma 2021"
Note: As part of 💻-🖥️ How to Manage Sensitive Files in the Cloud, we'll recommend a naming strategy for your vaults, and explain where to store them and what to put inside them. 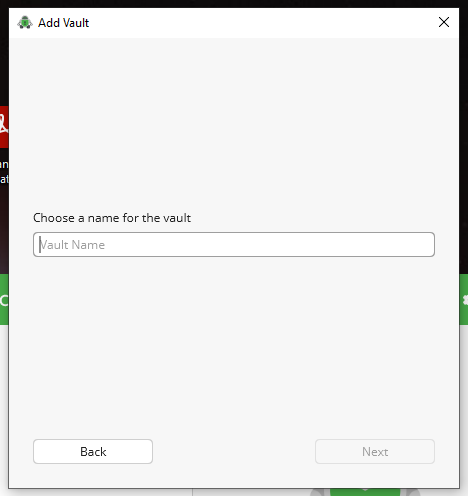
- Select your Cloud Drive - if your Cloud Drive doesn't show up, first 💻-🖥️ Install Cloud Sync
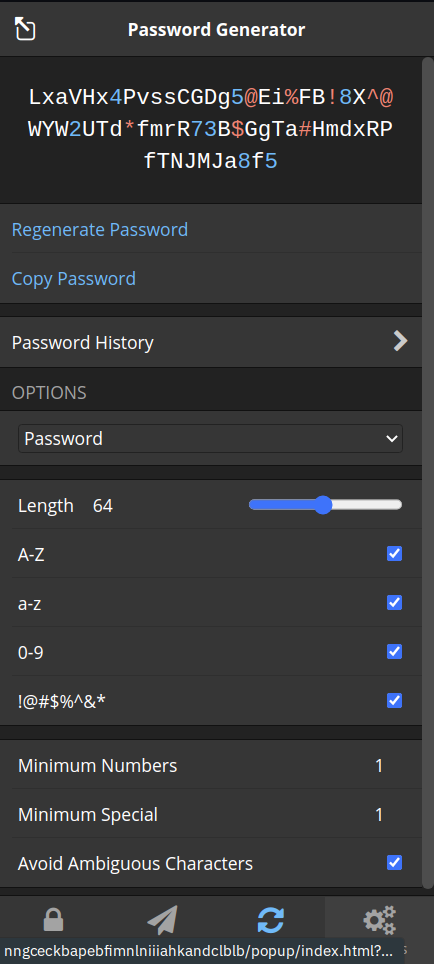
- Up next you're asked to set a password. This password is important, very important! Use our guide to 🔒 Generate Strong Passwords, and generate a password that is 64 characters long. Don't worry, you'll never have to manually type this in!
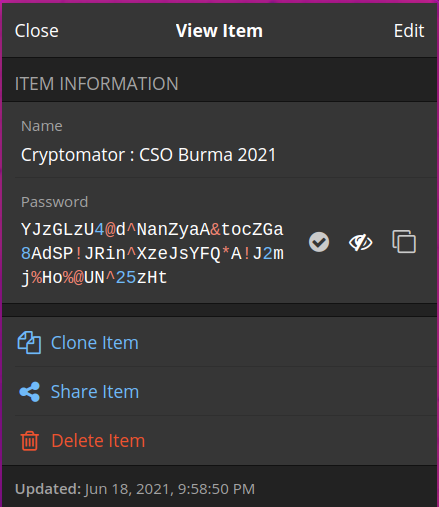
- 🔒 Practice Good Password Habits and store the password you've created as a new Login Profile in Bitwarden. You can always use the copy icon (two squares) to copy the password from Bitwarden, and then paste it into a login prompt.
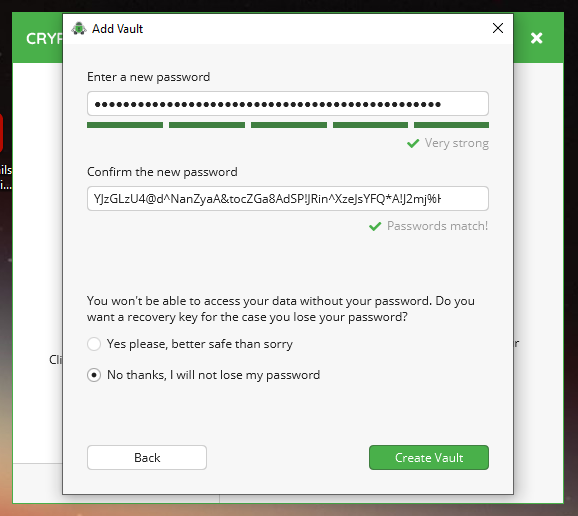
- Paste your strong password into Cryptomator, and decide whether you want to create a recovery key. If you are managing your passwords well, this should never be necessary, but if you are worried that you may still lose the password, create a recovery key and store that with at least the same level of security as your password, as it protects the same data.
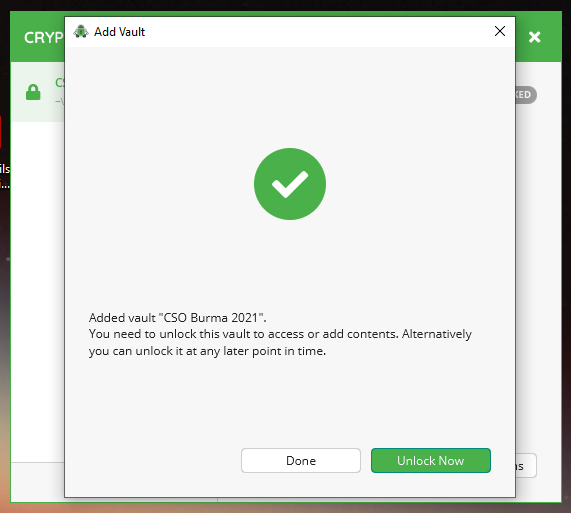
- Click "Create Vault"
- aaaand that's it! You can now click on "Unlock Now"
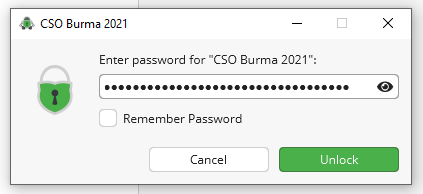
2. Open your Vault
- It will prompt you for your password, copy and paste your password from Bitwarden again.
- Of course never select "Remember Password", as that would leave your vault open for anyone who has access to your device. Click "Unlock"
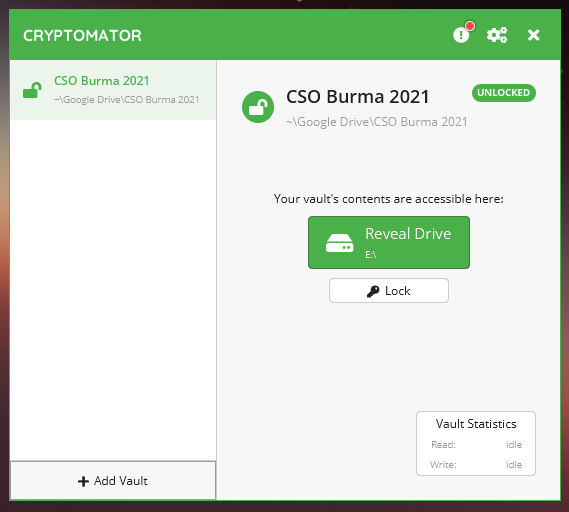
- If you want to always show your vault after opening it, check "Remember choice". Click "Reveal Drive".
- Your new vault will open in File Explorer
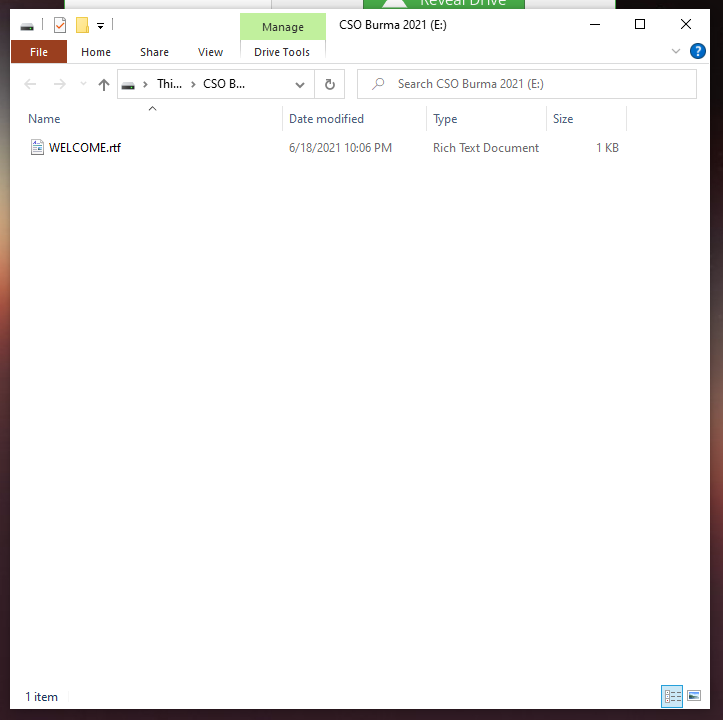
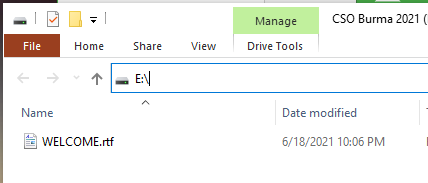
- Notice that it is mounted (i.e. files made available to you) on a drive letter, in our case
E:/
Now that you've successfully created and unlocked a vault, you may want to learn 💻-🖥️ How to Manage Sensitive Files in the Cloud for your everyday workflow or, when you're planning to use this for your team, 💻-🖥️ Manage Sensitive Files in the Cloud with a Team