📱 Safely take Photos
| TYPE | AUDIENCE | PRIORITY | COMPLEXITY | EFFORT | COST | UPDATED |
|---|---|---|---|---|---|---|
| Conduct | 🧑 | ⭐⭐⭐ | ⭐ | 🧑 | 🆓 | 2021-06-12 |
Important
There are many practical considerations about safely taking photos - e.g. being aware of your environment, not taking photos of people doing sensitive things, not intimidating people by taking photos or filming them.
This guide exclusively covers phone settings you can change to improve your safety and the safety of the people in your photos.
Rationale
Digital Photos can reveal more than you might be willing to reveal. Especially if they end up in the wrong hands. That's why we will strip metadata (i.e. additional information like where and when the photo was taken), and store it in an encrypted storage.
Instructions
What you should know
- Metadata (i.e. additional information like where and when the photo was taken) can be very revealing and sensitive, because it can tie you to a particular place and time. Example of metadata that is added to each photo by your phone by default:
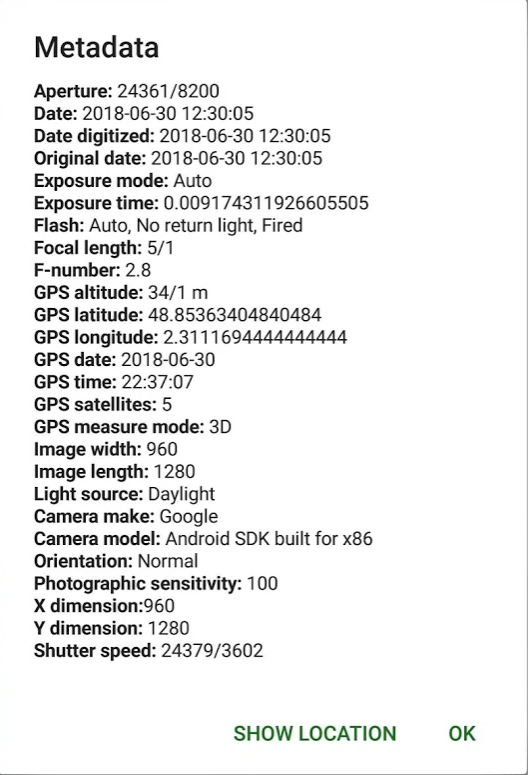
The time, data and phone model can all incriminate you. - Most social media platforms and messaging apps will strip some metadata for you, but it's safer to remove the metadata yourself before sharing if the images are sensitive and you want to minimise the chances of exposing you.
What you should prepare
This guide assumes that you have completed 📱 Android - Setup File Vault or 📱 iOS - Setup File Vault depending on your phone. If you haven't setup a File Vault for your device, do that first and return here upon completion.
What you should do
1. Stop Adding Location Data to Your Photos
On 🤖 ANDROID:
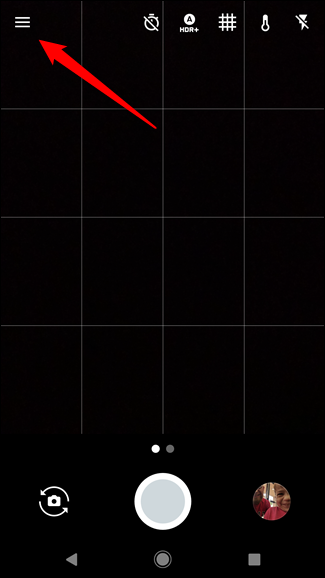
- In your camera app, tap the "Menu" button - the three stripes in the top left corner
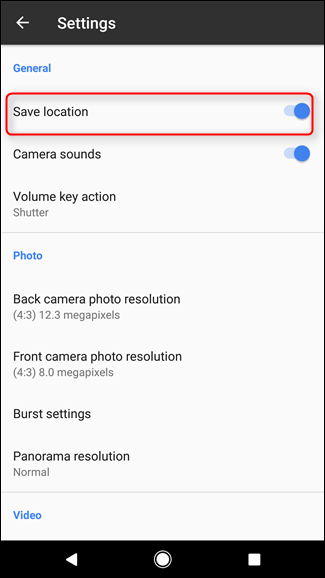
- Tap "Settings"
- Toggle "Save Location" to "Off"
On 🍏 iOS:
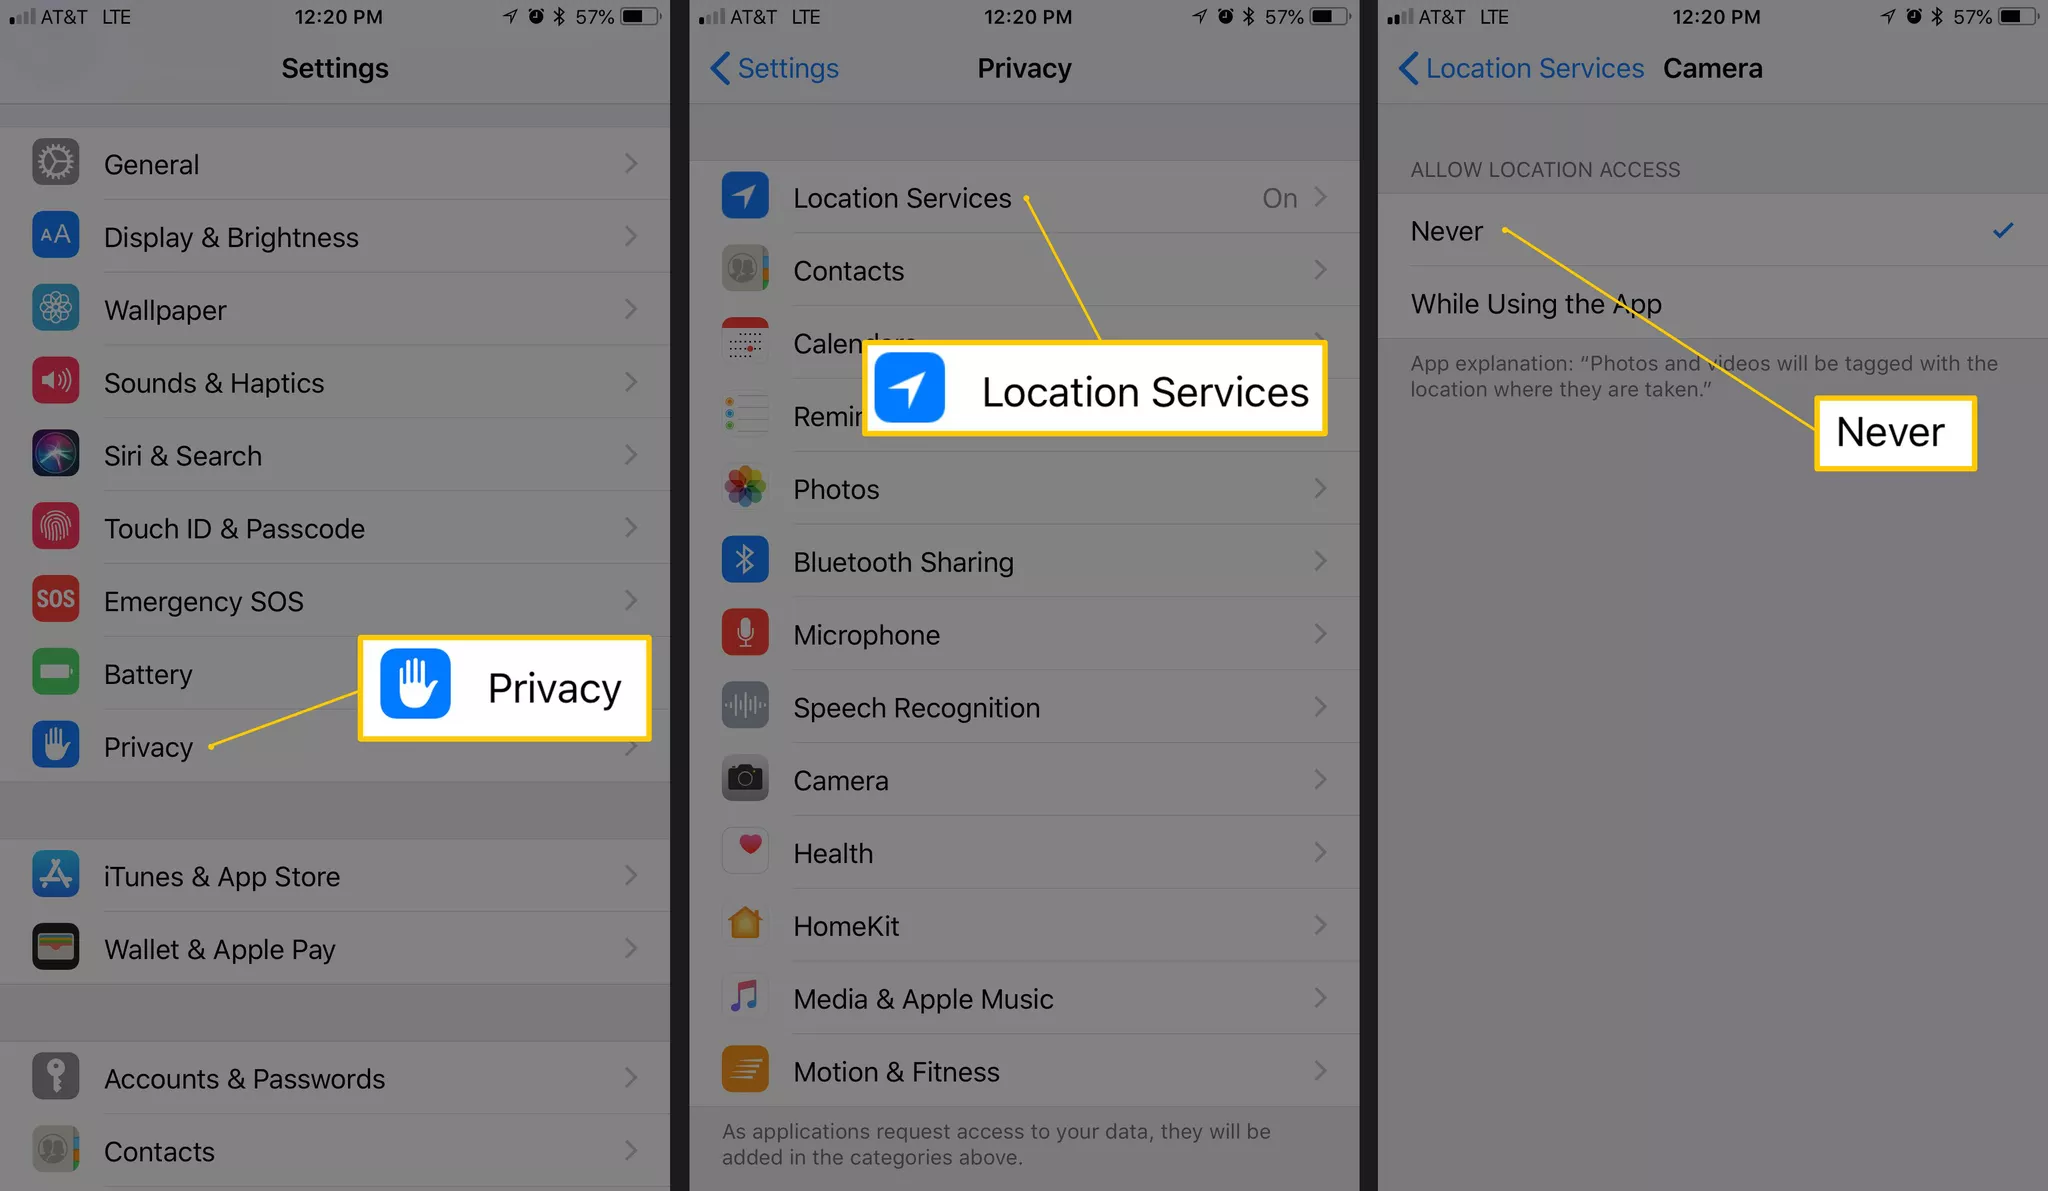
- Go to "Settings"
- Tap "Privacy"
- Tap "Location Services"
- Tap "Camera"
- Tap "Never"
2. Strip All Metadata Before Sharing Photos
Sadly there is no way to automatically strip all metadata from the photos you take wit your camera app on either iOS or Android. So instead, we will have to use metadata removal tools to strip the metadata from the photos ourselves.
On 🤖 ANDROID:
- Install Photo Metadata Remover from the Play Store.
- Open the Photo Metadata Remover app
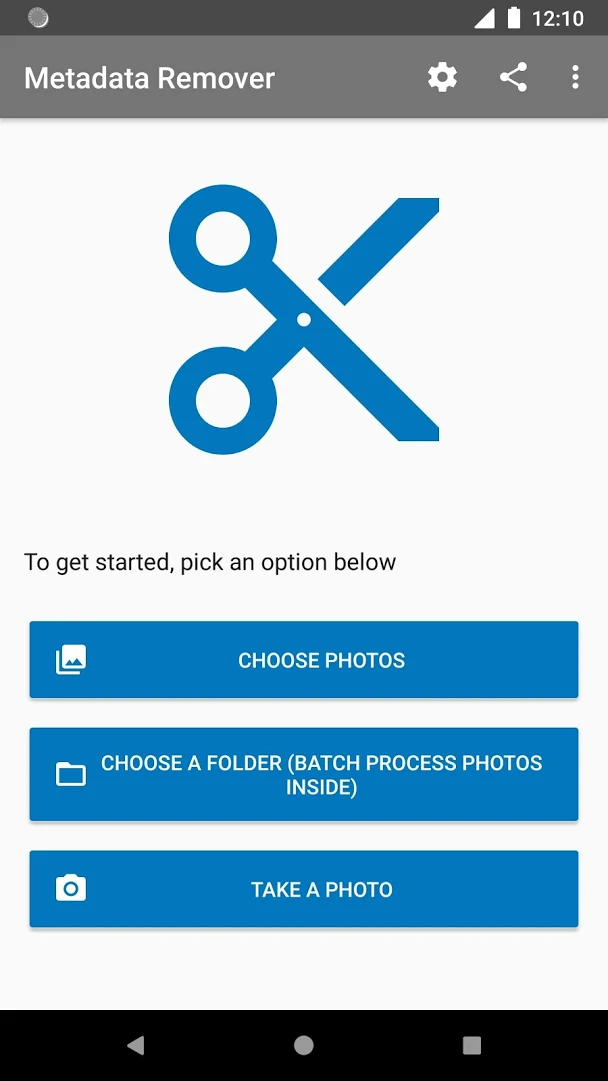
- Tap "Choose Photos" to select individual photos, or "Choose a Folder" to process all the photos inside of a folder at once.
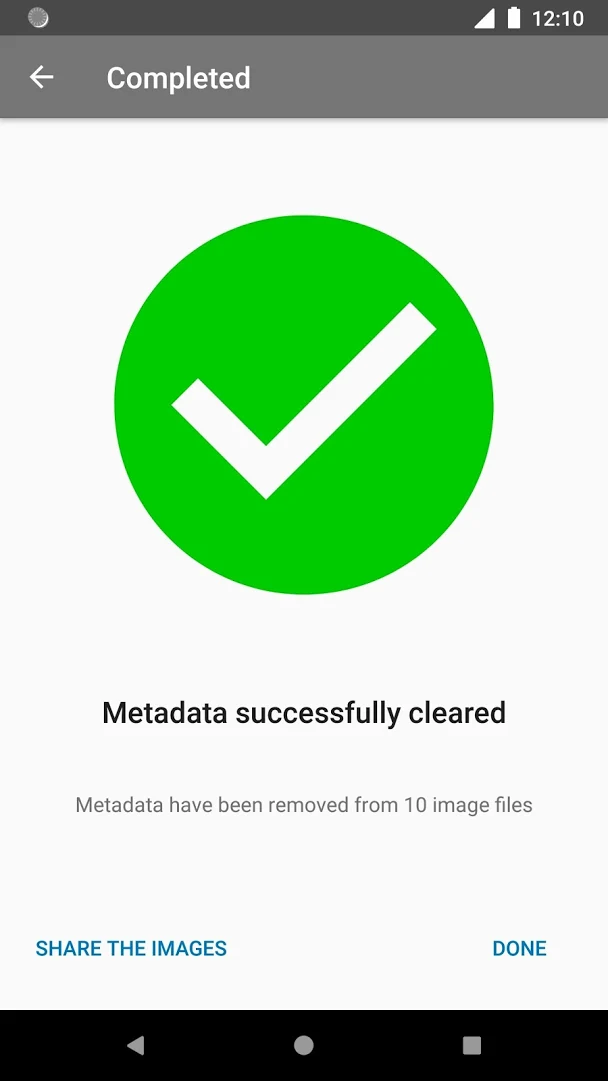
- Select your photos / folders you want to strip metadata from.
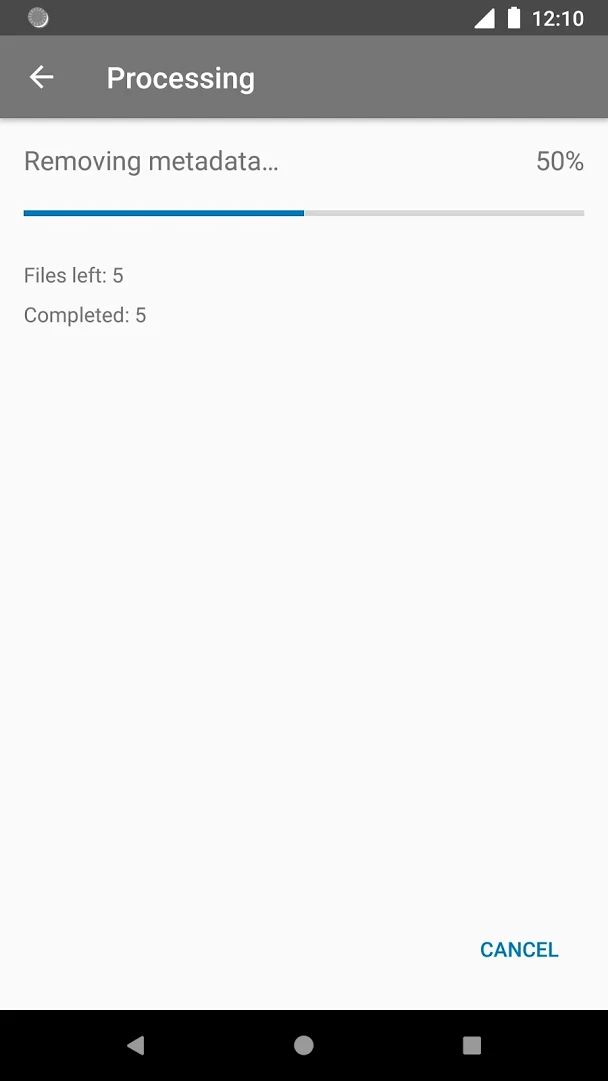
- The metadata should now be removed, tap "Done"

On 🍏 iOS:
- Install Photo & Video Metadata Remover from the App Store.
- Open the Photo & Video Metadata Remover app.
- Select the Albums / Photos you wish to remove the metadata from
- Select the "Cog" icon to pull up the "metadata action" menu
- Tap "Clear all metadata"
- Photos are now added to the "Meta Remove" album, with their metadata stripped.

Note: Metadata is not removed from the original photo or video, a copy is made with the cleared metadata.
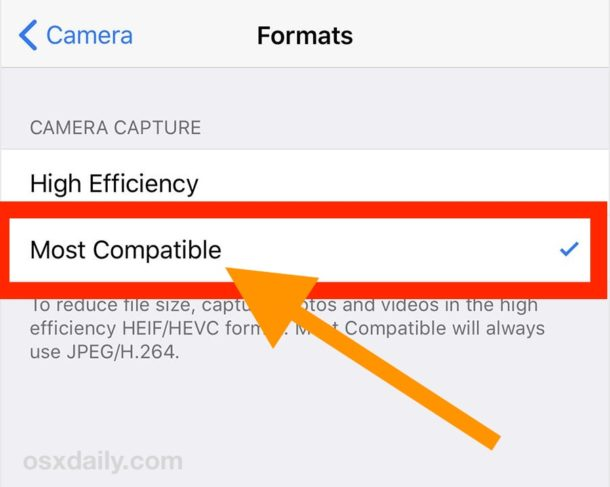
Note: The Photo & Video Metadata Remover app on iOS will can only remove metadata if the photos are JPEGs. However, iOS and Mac devices nowadays automatically save photos in the HEIC file format. So in order for the metadata remover app to work on new photos you need to change the iOS camera to shoot JPEGs:
- Open "Settings"
- Tap "Camera"
- Tap "Formats" and select "Most Compatible" to shoot photos in JPEG format on iPhone camera
On 💻/🖥️ Computers:
- For other platforms, consult this Helpdeskgeek Guide, which also covers Windows and MacOS.
3. Store Photos in your Photo Vault
You can also create an icon which opens a camera that directly stores your photos into your vault, so you don't have to go into your vault before taking photos.
On 🤖 ANDROID:
- Confirm that you have completed 📱 Android - Setup File Vault, and now have the Calculator Photo Vault, by opening your Vault.
- Go into the app settings.
- Tap "Private Camera"
- Tap "Private Camera" again to create a shortcut
- Click "GOT IT" and "ADD" on the next pop up screens.
- You should now have a Camera icon added to your Home Screen as shown below:
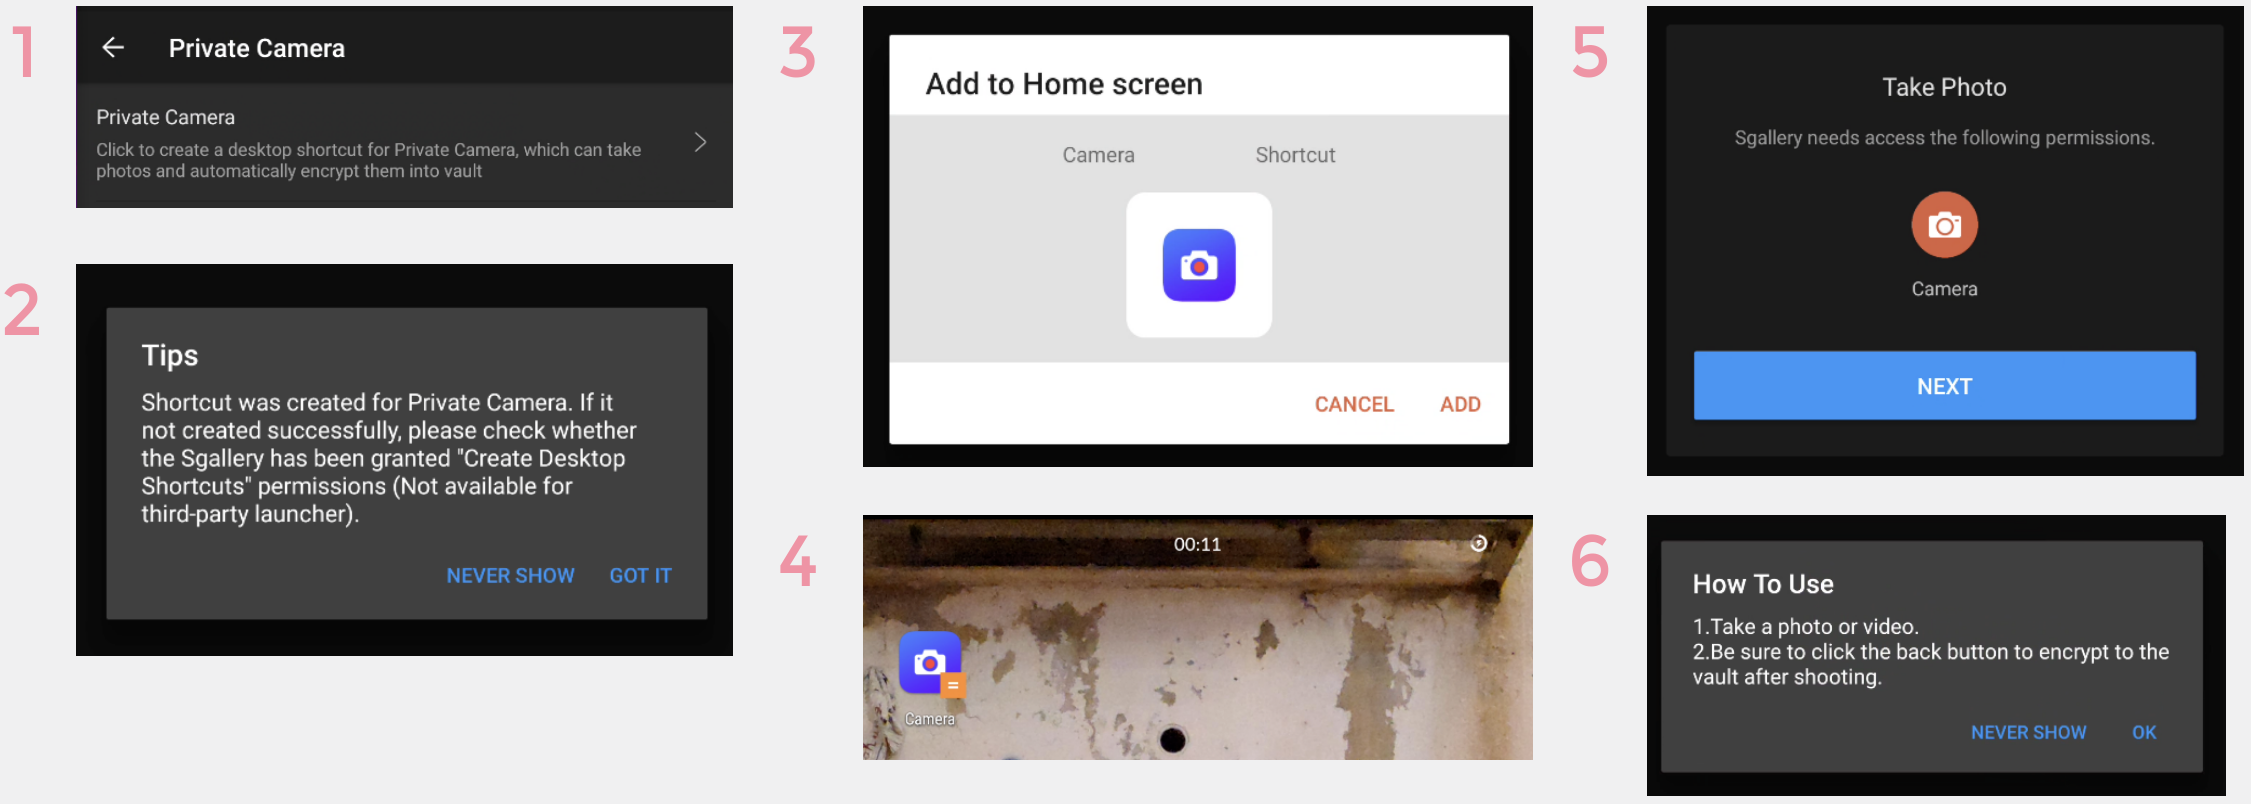
- Tap the icon to launch the camera.
- Provide the app with the permission to use your camera.
- Congrats! You've created your direct-to-vault camera.
- Note: Remember to always press the 'back' button after taking a picture to trigger the encryption step. Only then is it actually transferred and encrypted into your vault.
optional- As always, consider whether you want to Hide the App to make it more difficult to discover upon casual inspection.
On 🍏 iOS:
- Sadly, there's no way to directly add a direct-to-vault camera icon to your home screen on iOS.
- Instead, simply open the Private Photo Vault app
- Tap "+"
- Tap "Camera"
- Any photos you take now will be stored in your vault.