💻/🖥️/📱 Setup Private DNS in your Browser
Last updated on : 2021-06-15
Rationale
You can think of DNS as the "phone book of the Internet", so before each site visit your browser looks up where on the network the site is you wish to visit. If this lookup isn't secured, then someone could monitor which sites you visits and build up a record. Luckily, we can protect ourselves against this.
Instructions
What you should prepare
- Have completed your 💻-🖥️-📱 Install Brave or Firefox
What you should do
If you have 💻-🖥️-📱 Setup Cloudflare WARP, then you should already be securely connecting to 1.1.1.1 for your DNS. But just in case you aren't using that app, or turn it off, we would still want our browsers to be secure.
💻/🖥️:🦁 Setup Secure DNS in Brave on a Computer
- go to brave://flags/#dns-over-https
- If the "Secure DNS lookups" option shows up, set it to "Enabled"
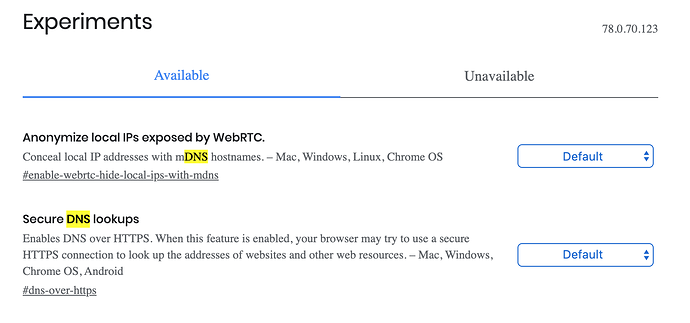
- If it doesn't show for you, rely on 💻-🖥️-📱 Connect to Cloudflare WARP instead.
💻/🖥️:🦊 Setup Secure DNS in Firefox on a Computer
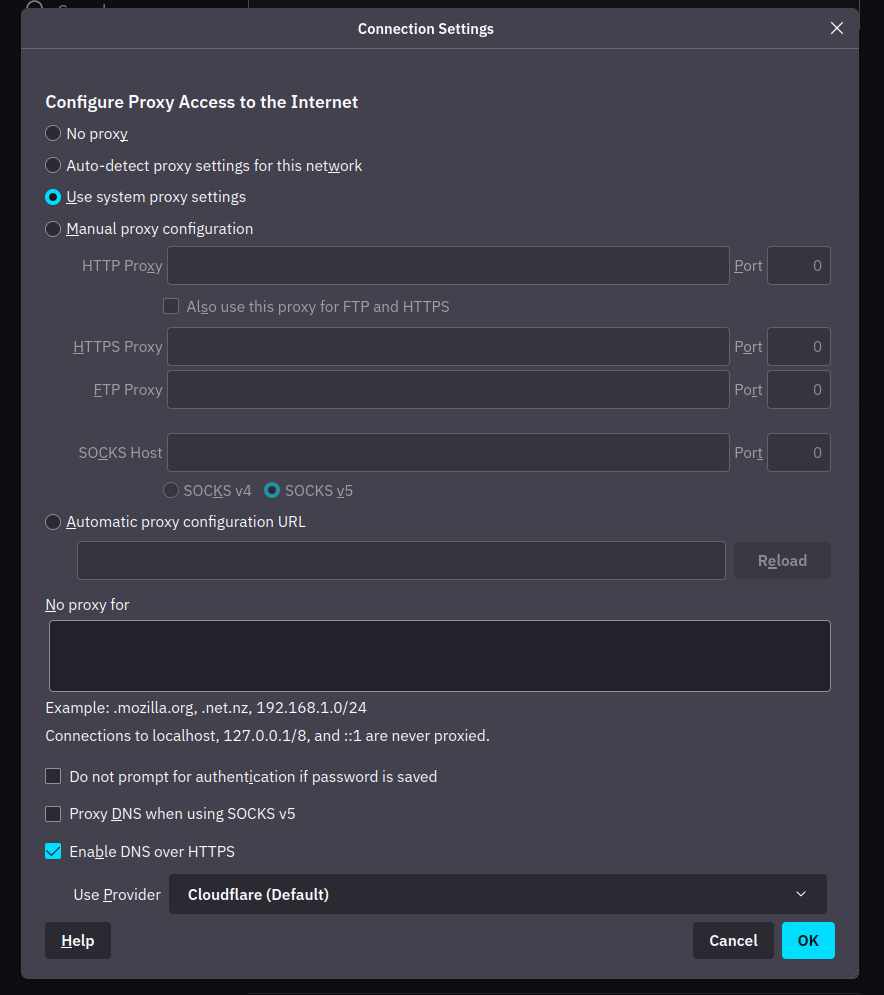
- Go to about:preferences#general
- Scroll down to "Network Settings", click "Settings"

- Select "Use system proxy settings" under "Configure Proxy Access to the Internet", and
- "Enable Enable DNS over HTTPS" with "Cloudflare (default)" selects at the bottom
📱:🦁 Setup Secure DNS in Brave on a Smartphone
Note: The DNS over HTTPS feature is not available for iOS.
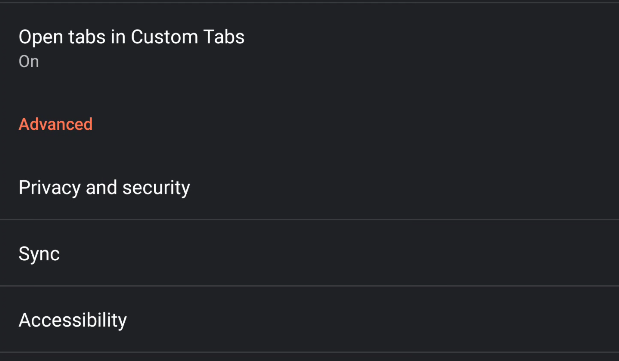
- Tap the triple dots in the top right, and tap "Settings"
- Scroll down and tap "Privacy and Security"
- Tap "Use secure DNS"
- Toggle "Use secure DNS" to "on"
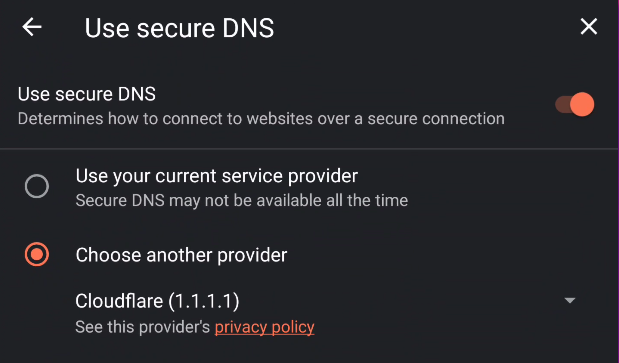
- Select "Choose Another Provider" and
- Select "Cloudflare (1.1.1.1)" or the provider of your choice.
📱:🦊 Setup Secure DNS in Firefox on a Smartphone
The DNS over HTTPS feature is not available for Firefox on Android and iOS