🌐 Setup Dedicated Work Email for Staff
| TYPE | AUDIENCE | PRIORITY | COMPLEXITY | EFFORT | COST | UPDATED |
|---|---|---|---|---|---|---|
| Preparation | 🏗️ | ⭐⭐⭐⭐⭐ | ⭐⭐⭐⭐ | 🏗️ | 🔁💵💵💵 | 2021-06-24 |
Rationale
As email is often one of the main methods of communication in organisations, it is essential that the organisations sensitive communication, data, or documents are sent through email accounts that are within its control.
By allowing staff to use their personal email accounts for work purposes, it becomes much more difficult to protect your staff and the organisation. For example, it is harder to lock the account in cases of emergency, or to transfer the emails when the staff leaves the organisation, or to enforce a policy that email is automatically archived or deleted after a period of time.
Instructions
What you should do
Since these steps are best implemented by someone who has experience setting up email services for an organisation, we will only cover the high-level steps so you can understand what is involved when getting assistance from someone to set this up for your organisation.
1. Get a domain name
If you don't have a domain name (i.e. organisation.org) yet, acquire a domain name, as you'll need one to sign up for organisation email.
There are many places where you can buy a domain name. You can refer to services like Cloudflare, Google, and NameCheap), if you don't have another preference.
2. Sign up for organisation email
Next you'd need to decide which email hosting service you want to use. As always, there are many options to choose from. Popular options (with their prices for their most basic plan, per user, per month) are:
- Google Workspaces -
USD 5- good if your staff is already familiar with Google suite, e.g. Gmail, Google Drive, Google Docs. Excellent apps on Android / iOS as well. - Microsoft 365 -
USD 6- good if your staff heavily relies on the office suite for their work (Word, Powerpoint, OneDrive); comes with Outlook. - ProtonMail -
USD 8- the largest private email provider, has apps for Android and iOS, send encrypted email within your organisation, and can send encrypted messages to third parties. - Tutanota -
USD 1- privacy-first email provider, also offers encrypted calendars. Mobile and Desktop Apps.
Google Workspaces and Microsoft 365 both offer a full suite of office tools, whereas ProtonMail and Tutanota are focused on privacy and securing your emails.
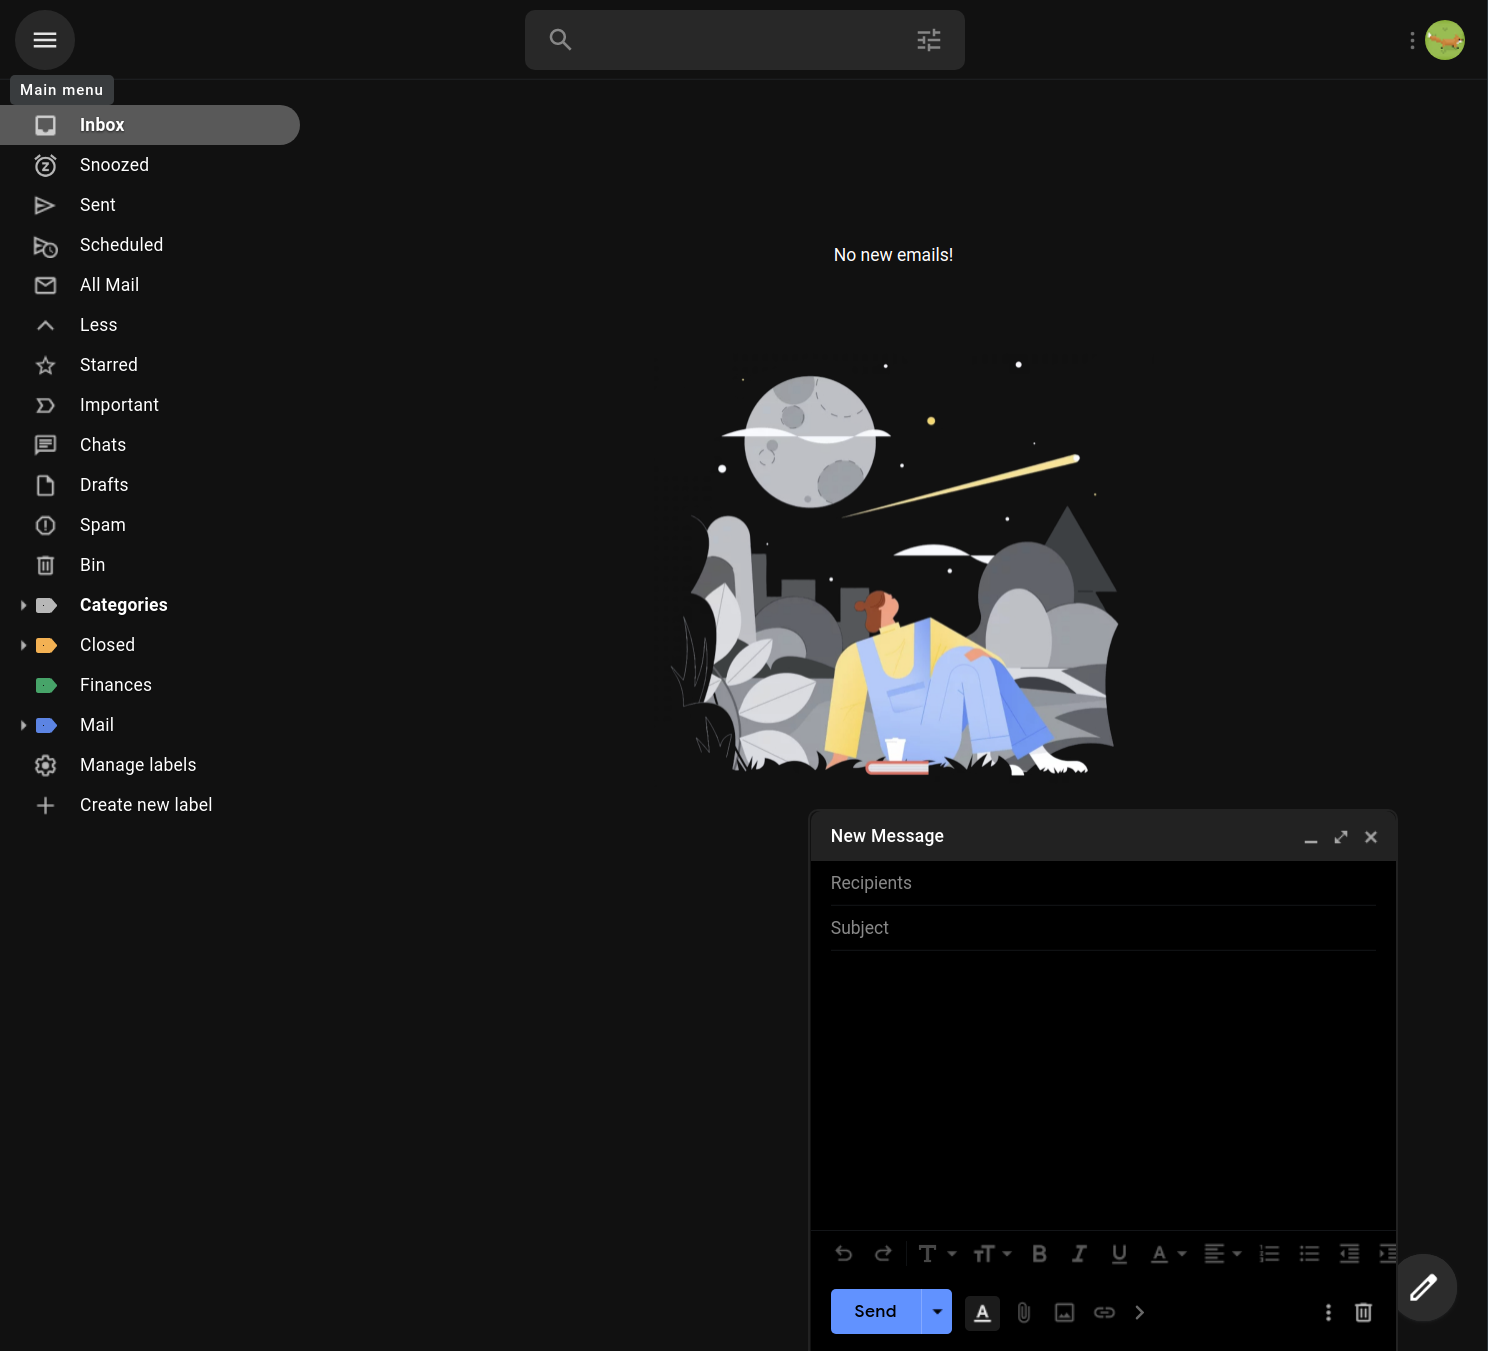
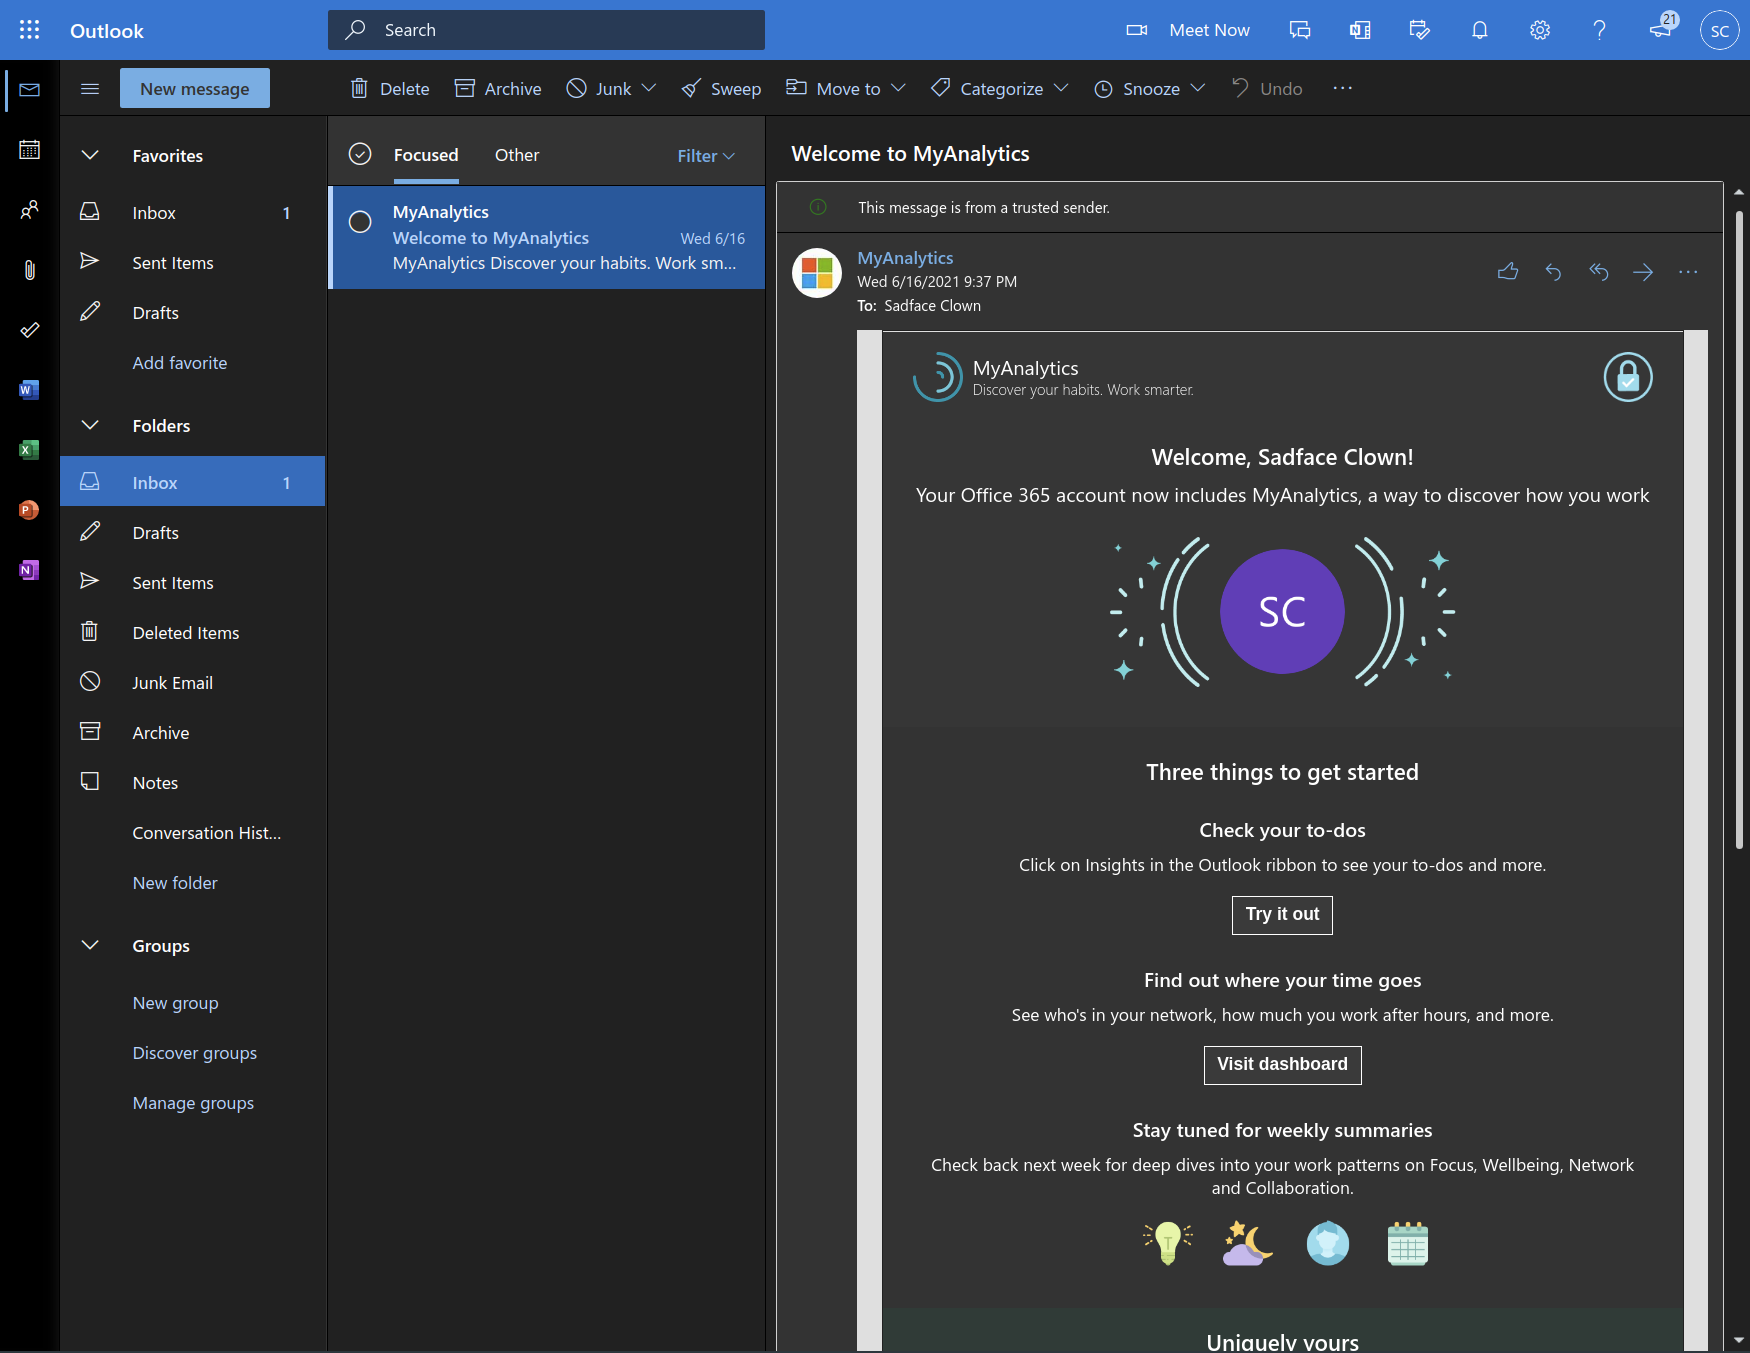
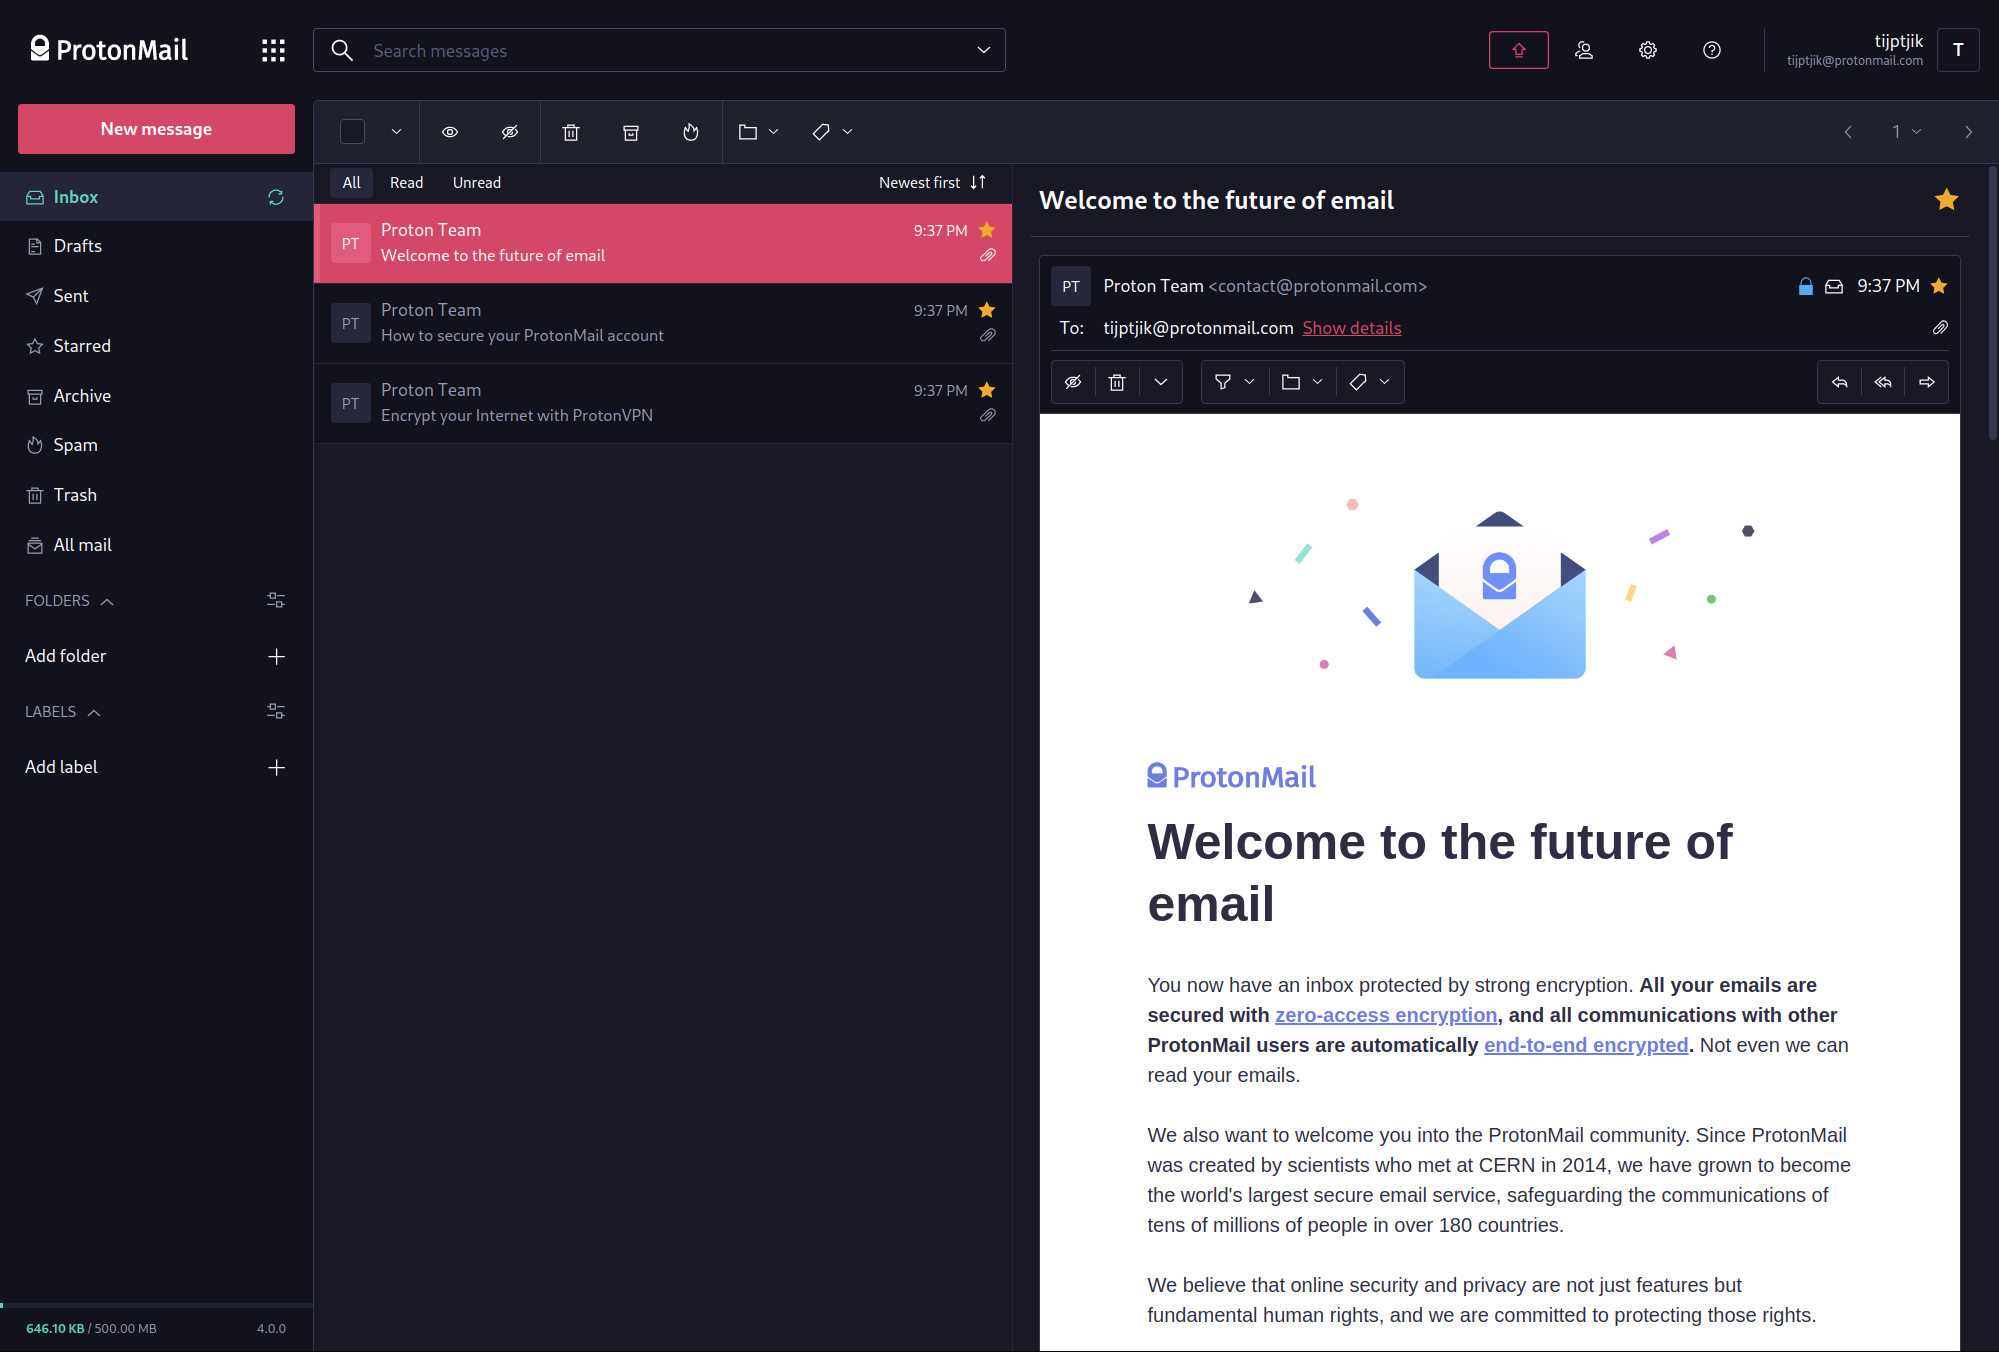
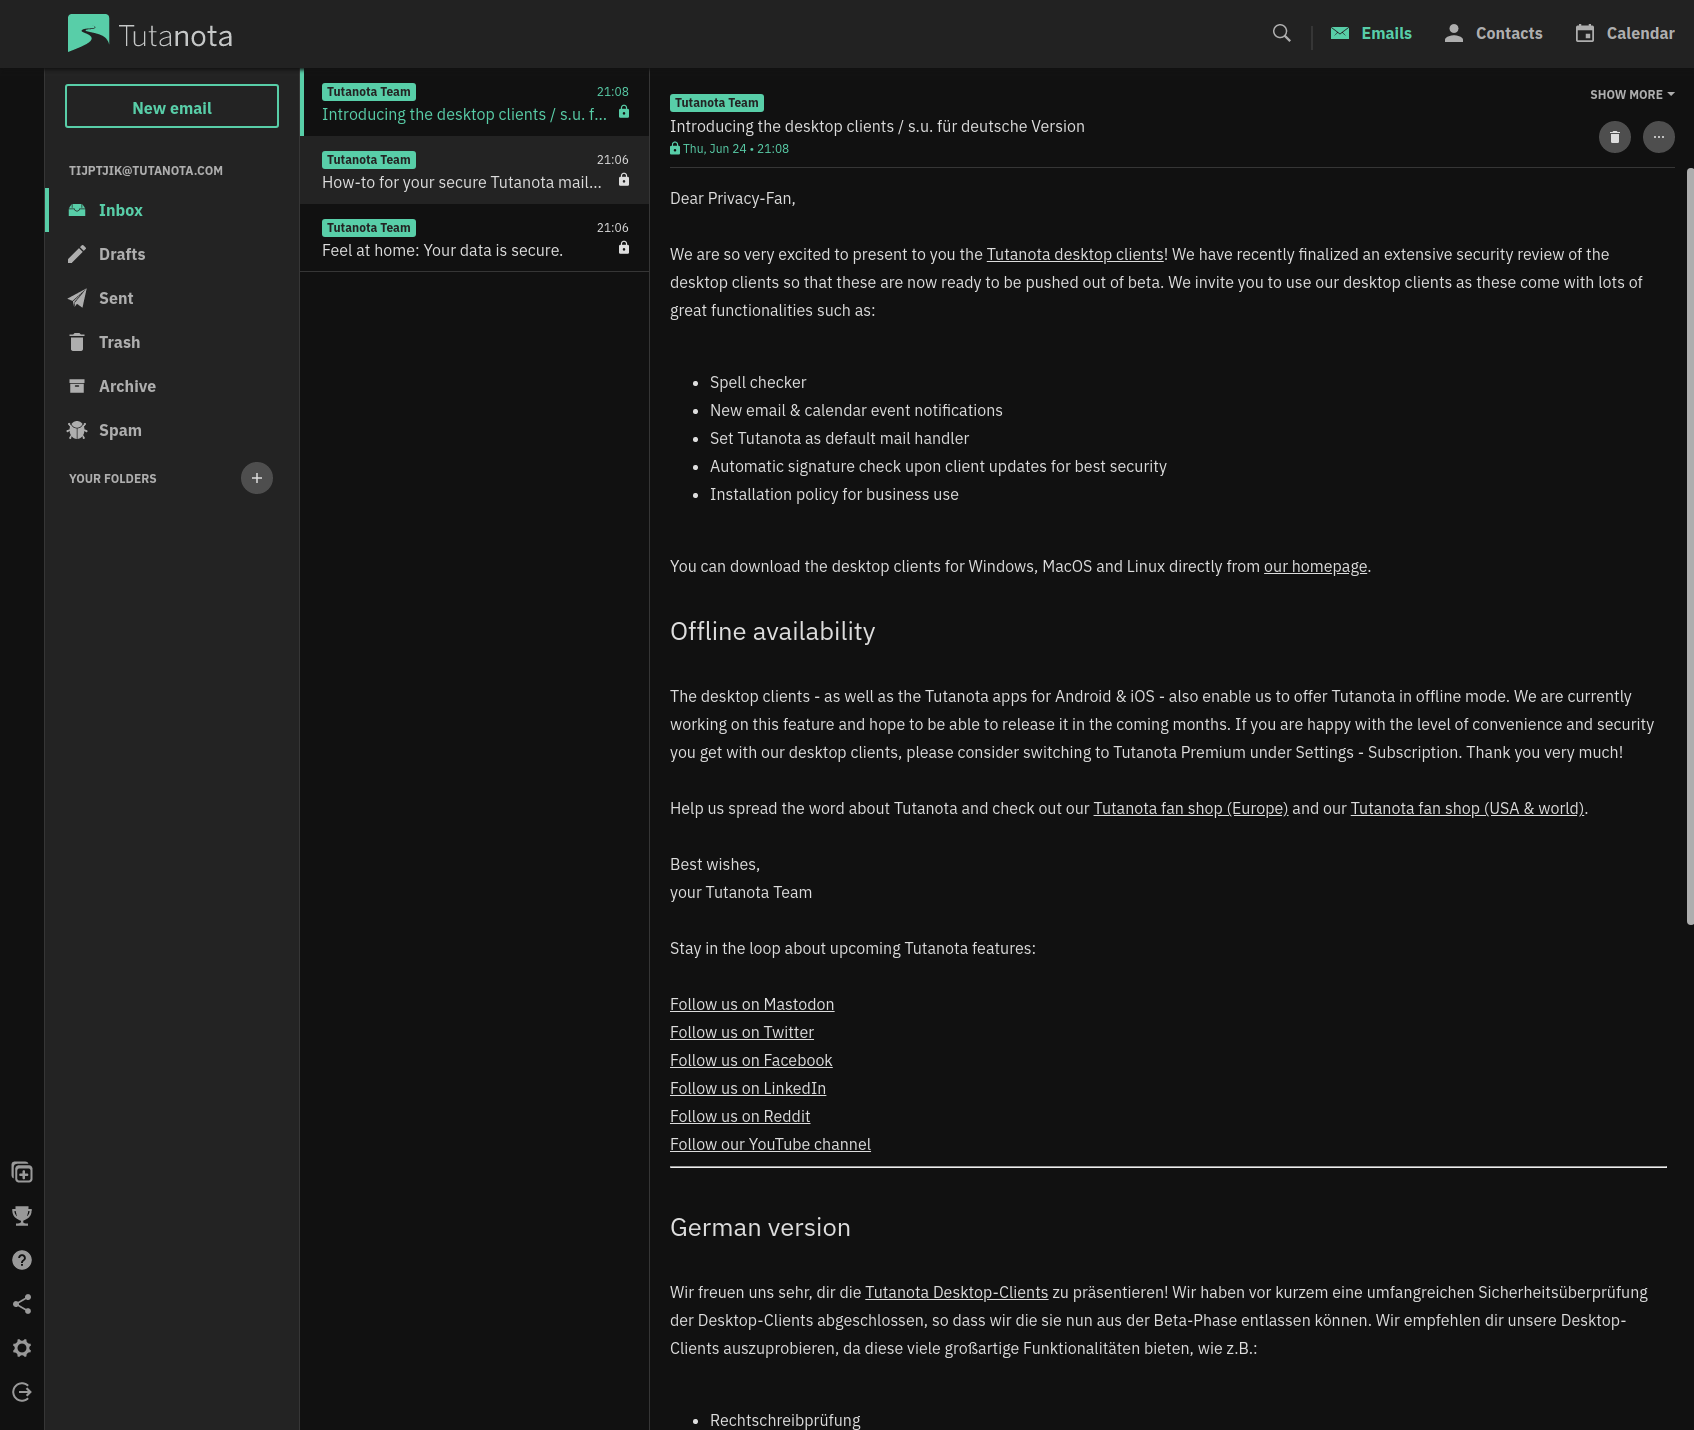
For reference this is what email from the various services looks like (with an optional dark theme):
Google Workspaces
Office 365
Protonmail
Tutanota
3. Setup DNS Records
Once you've signed up for an email hosting, they will instruct you on how to configure your domain and invite your staff to the service.
Part of the setup will be to configure your nameserver and dns records so that when an email is addressed to [email protected], the internet knows which service to deliver the email to.